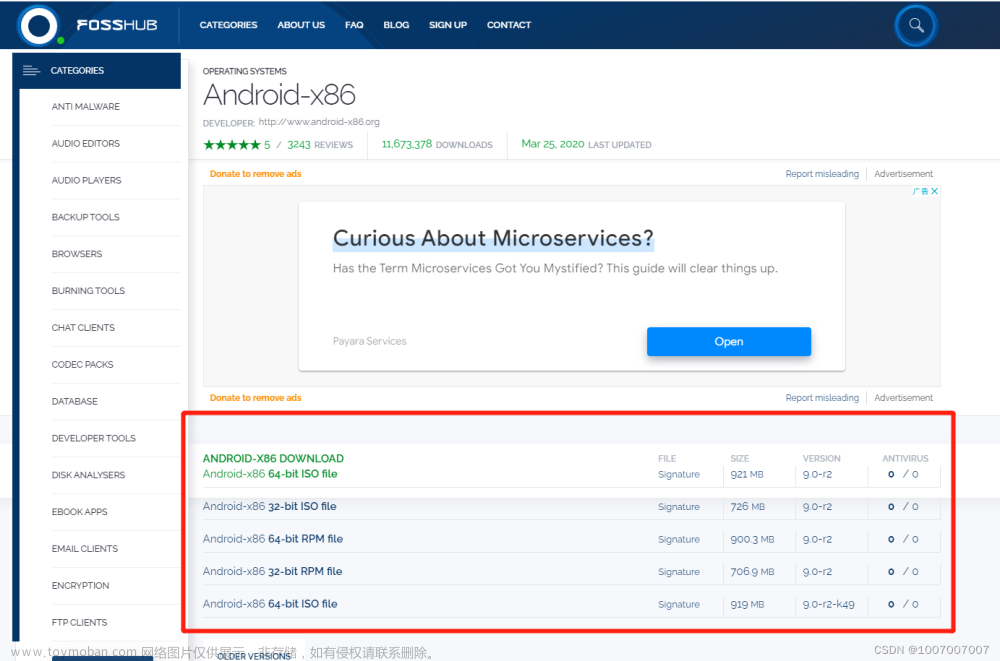
1.安装虚拟机
略
2.安装waydroid
Ubuntu/Debian and derivatives
For Droidian and Ubuntu Touch, skip directly to the last step
-
Install pre-requisites
sudo apt install curl ca-certificates -y-
Add the official repository
curl https://repo.waydro.id | sudo bashIf the script fails to detect your distribution, you can provide a valid option by appending
-s <DISTRO>. Currently supported values are: focal, jammy, kinetic, lunar, mantic, bookworm, bullseye, sid
-
Install waydroid
sudo apt install waydroid -yThen start Waydroid from the applications menu.

3.如何使用
1. 启动container
sudo waydroid container start
2. 新开一个终端,创建一个session(不要使用sudo)
waydroid session start
出现如下输出说明启动成功
"Android with user 0 is ready"
3. 全屏模式启动Waydroid
waydroid show-full-ui
4.可能遇到的问题
问题 1:如果是mobaxterm启动,可能会有如下问题
如果没有启动 session ,会有如下报错:
/home/yk# waydroid app install app-debug.apk
[16:15:09] WayDroid session is stopped
waydroid对于桌面协议有要求,只能是wayland,不能是 tty 和 x11,如果配置不当会出现如下错误:
ERROR: org.freedesktop.DBus.Error.Spawn.ExecFailed: /usr/bin/dbus-launch terminated abnormally with the following error: MoTTY X11 proxy: Unsupported authorisation protocol
Autolaunch error: X11 initialization failed.
ERROR: org.freedesktop.DBus.Error.NoReply: Did not receive a reply. Possible causes include: the remote application did not send a reply, the message bus security policy blocked the reply, the reply timeout expired, or the network connection was broken.
更多类似问题:WAYLAND_DISPLAY is not set, defaulting to "wayland-0" · Issue #771 · waydroid/waydroid · GitHub
解决方法 :
建议使用weston来启动waydroid。
- 安装
sudo apt install weston
- 启动,可以在tty终端中启动,比如MobaxTerm
weston
- 在弹出界面中点击左上角的terminal图标开启一个命令行终端
- 启动session,只需要启动一次
waydroid session start
- 开启lineageOS桌面
waydroid show-full-ui
- lineageOS的左上角也有terminal启动图标,点击后安装apk
waydroid app install app.apk
- adb连接waydroid android虚拟机
Grab waydroid IP address from Android Settings-> About
And start adb:
adb connect <IP>:5555
如果需要开发者权限,连续点击 setting->About->Build Num
问题2 :虚拟机使用 waydroid show-full-ui 没反应
如果使用虚拟机运行Waydroid或者是 Nvidia 显卡,则会出现 waydroid无法启动。
解决方法 :
You can force Waydroid to run without GPU acceleration by modifying the waydroid configuration file:
nano /var/lib/waydroid/waydroid.cfg
Add the following lines in the [properties] section:
ro.hardware.gralloc=default
ro.hardware.egl=swiftshader
Apply the configuration with:
sudo waydroid upgrade -o
5.下载waydoird 对应的 lineage 源码&&编译 lineage 源码
1. 同步仓库:
repo init -u https://github.com/LineageOS/android.git -b lineage-18.1 --git-lfs
repo sync build/make
可能需要安装的rpm包有:
git-lfs
2.下载 local_manifests
wget -O - https://raw.githubusercontent.com/waydroid/android_vendor_waydroid/lineage-18.1/manifest_scripts/generate-manifest.sh | bash
3. 下载源码,这步可能会要持续很久
Then to sync up:
repo sync
4. 打Waydroid的最新补丁
After that is complete, we apply the Waydroid patches:
apply-waydroid-patches
5. 开始编译
Please see the LineageOS Wiki for building environment setup.
5.1 Waydroid Build Commands:
. build/envsetup.sh
5.2 lunch
这一步一定要选对,因为下一步编译会持续很久,选错了就浪费很多时间
arm架构
lunch lineage_waydroid_arm-userdebug
lunch lineage_waydroid_arm64-userdebug
x86架构
lunch lineage_waydroid_x86-userdebug
lunch lineage_waydroid_x86_64-userdebug
5.3 开始编译
make systemimage -j$(nproc --all)
make vendorimage -j$(nproc --all)
5.4 转换镜像为可以烧录的文件
Image Generation From Sparse Image:
The default output of the AOSP build system is an "Android Sparse Image". We need raw fileystems instead. From the same terminal where you just built a system and a vendor image, run:
simg2img $OUT/system.img ~/system.img
simg2img $OUT/vendor.img ~/vendor.img
to obtain your target raw images at ~/system.img and ~/vendor.img
6. 可能遇到的问题
Local Manifest:
To manually regenerate the local_manifests, we also have added a function to do so
waydroid-generate-manifest
After doing that you will want to resync (this will wipe out any local changes, so make sure you save your work to a different branch)
参考:
Compile Waydroid - Lineage OS based images - Waydroidhttps://docs.waydro.id/development/compile-waydroid-lineage-os-based-images#how-to-build
6.替换自己编译的 lineage 镜像,替换原有 waydroid 默认android 镜像
6.1 创建镜像启动路径
sudo mkdir -p /etc/waydroid-extra/images
6.2 使用第五步编译好的镜像文件
cp vendor.img /etc/waydroid-extra/images
cp system.img /etc/waydroid-extra/images
注意:
waydroid --version1.3.3之前的版本,镜像存放路径为/usr/share/waydroid-extra/images/
6.2 使用第三方编译好的镜像文件
download the images (e.g. x86_64 gapps system and mainline vendor) manually from sourceforge
sudo unzip lineage-*-system.zip -d /etc/waydroid-extra/images
sudo unzip lineage-*-vendor.zip -d /etc/waydroid-extra/images
rm lineage-*-system.zip lineage-*-vendor.zip
6.3 重新加载镜像
sudo waydroid init -f文章来源:https://www.toymoban.com/news/detail-848725.html
参考:Using custom Waydroid images - Waydroidhttps://docs.waydro.id/faq/using-custom-waydroid-images文章来源地址https://www.toymoban.com/news/detail-848725.html
7. LineageOS 和 AOSP 版本对应关系
| Version | AOSP version | Last build release date |
|---|---|---|
| 18.1 | 11 (Red Velvet Cake) | (Current) |
| 19.1 | 12.1 (Snow Cone) | (Current) |
| 20 | 13 (Tiramisu) | (Current) |
到了这里,关于[Android] ubuntu虚拟机上搭建 Waydroid 环境的文章就介绍完了。如果您还想了解更多内容,请在右上角搜索TOY模板网以前的文章或继续浏览下面的相关文章,希望大家以后多多支持TOY模板网!


