[Ubuntu]apt源改为阿里源(基于Ubuntu 20.04/18.04)

这篇具有很好参考价值的文章主要介绍了[Ubuntu]apt源改为阿里源(基于Ubuntu 20.04/18.04)。希望对大家有所帮助。如果存在错误或未考虑完全的地方,请大家不吝赐教,您也可以点击"举报违法"按钮提交疑问。

我们需要根据我们自己Ubuntu系统版本来配置对应的apt源

一、常见LTS版本代号

  • Ubuntu 20.04代号为:focal
  • Ubuntu 19.04代号为:disco
  • Ubuntu 18.04代号为:bionic
  • Ubuntu 17.04代号为:zesty
  • Ubuntu 16.04代号为:xenial

二、查看linuxOS发行版本信息

查看命令:

lsb_release -a

ubuntu 20.04 ==> 发行版本代号为 focal

$ lsb_release -a
Distributor ID:	Ubuntu
Description:	Ubuntu 20.04.1 LTS
Release:	    20.04
Codename:	    focal

ubuntu 18.04 ==> 发行版本代号为 bionic

$ lsb_release -a
Distributor ID:	Ubuntu
Description:	Ubuntu 18.04.6 LTS
Release:	18.04
Codename:	bionic

三、修改apt源

1. 修改sources.list文件

sudo gedit /etc/apt/sources.list

ubuntu 20.04

# 阿里源
deb http://mirrors.aliyun.com/ubuntu/ focal main restricted universe multiverse
deb-src http://mirrors.aliyun.com/ubuntu/ focal main restricted universe multiverse
deb http://mirrors.aliyun.com/ubuntu/ focal-security main restricted universe multiverse
deb-src http://mirrors.aliyun.com/ubuntu/ focal-security main restricted universe multiverse
deb http://mirrors.aliyun.com/ubuntu/ focal-updates main restricted universe multiverse
deb-src http://mirrors.aliyun.com/ubuntu/ focal-updates main restricted universe multiverse
deb http://mirrors.aliyun.com/ubuntu/ focal-backports main restricted universe multiverse
deb-src http://mirrors.aliyun.com/ubuntu/ focal-backports main restricted universe multiverse
deb http://mirrors.aliyun.com/ubuntu/ focal-proposed main restricted universe multiverse
deb-src http://mirrors.aliyun.com/ubuntu/ focal-proposed main restricted universe multiverse

ubuntu 18.04文章来源地址https://www.toymoban.com/news/detail-856022.html

# 阿里源
deb http://mirrors.aliyun.com/ubuntu/ bionic main restricted universe multiverse
deb http://mirrors.aliyun.com/ubuntu/ bionic-security main restricted universe multiverse
deb http://mirrors.aliyun.com/ubuntu/ bionic-updates main restricted universe multiverse
deb http://mirrors.aliyun.com/ubuntu/ bionic-proposed main restricted universe multiverse
deb http://mirrors.aliyun.com/ubuntu/ bionic-backports main restricted universe multiverse
deb-src http://mirrors.aliyun.com/ubuntu/ bionic main restricted universe multiverse
deb-src http://mirrors.aliyun.com/ubuntu/ bionic-security main restricted universe multiverse
deb-src http://mirrors.aliyun.com/ubuntu/ bionic-updates main restricted universe multiverse
deb-src http://mirrors.aliyun.com/ubuntu/ bionic-proposed main restricted universe multiverse
deb-src http://mirrors.aliyun.com/ubuntu/ bionic-backports main restricted universe multiverse

2.更新

$ sudo apt-get update
$ sudo apt-get upgrade

到了这里,关于[Ubuntu]apt源改为阿里源(基于Ubuntu 20.04/18.04)的文章就介绍完了。如果您还想了解更多内容,请在右上角搜索TOY模板网以前的文章或继续浏览下面的相关文章,希望大家以后多多支持TOY模板网!

本文来自互联网用户投稿,该文观点仅代表作者本人,不代表本站立场。本站仅提供信息存储空间服务,不拥有所有权,不承担相关法律责任。如若转载,请注明出处: 如若内容造成侵权/违法违规/事实不符,请点击违法举报进行投诉反馈,一经查实,立即删除!

领支付宝红包 赞助服务器费用

相关文章

  • Ubuntu 20.04 Ubuntu18.04安装录屏软件Kazam

      选择Screencast(录屏) Fullscreen(全屏)-----Windows(窗口)--------Area(区域)、 然后点击Capture,开始录制。 右上角有一个Finish recording 4.然后点击Continue,将所录制的视频保存在你想要的文件夹里面。   5.下载MP4播放器  然后你就可以播放你所录制的视频了。 在windows下面你得用

    2024年02月15日
    浏览(60)
  • 【Ubuntu20.04】安装gcc11 g++11, Ubuntu18.04

    下面是美化后的博客文章,使其更加具体和详实: 如果选择不卸载已有的GCC版本,可以使用以下命令设置默认编译器版本。首先,列出已安装的GCC版本: 然后,使用以下命令将gcc和g++的符号链接设置为GCC 11: 最后,使用以下命令配置默认的GCC版本为GCC 11:

    2024年02月10日
    浏览(48)
  • Ubuntu安装腾讯会议——Ubuntu16.04/18.04/20.04/22.04

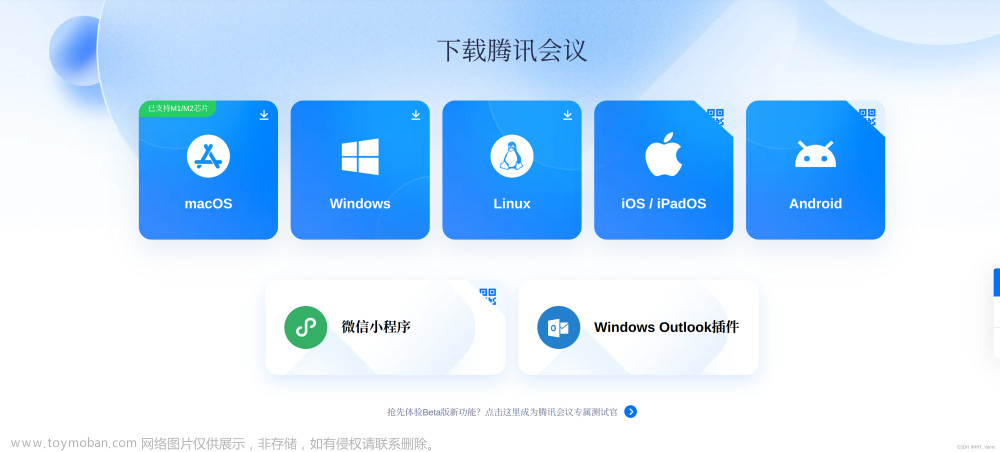
    通过以下教程可以快速的安装腾讯会议,本教程适用于Ubuntu16.04/18.04/20.04/22.04 进入腾讯会议下载官网下载腾讯会议Linux客户端 选择x86_64格式安装包下载 双击deb文件,点击install进行安装 安装成功,可以成功运行

    2024年02月12日
    浏览(89)
  • Ubuntu官方安装微信——Ubuntu16.04/18.04/20.04/22.04

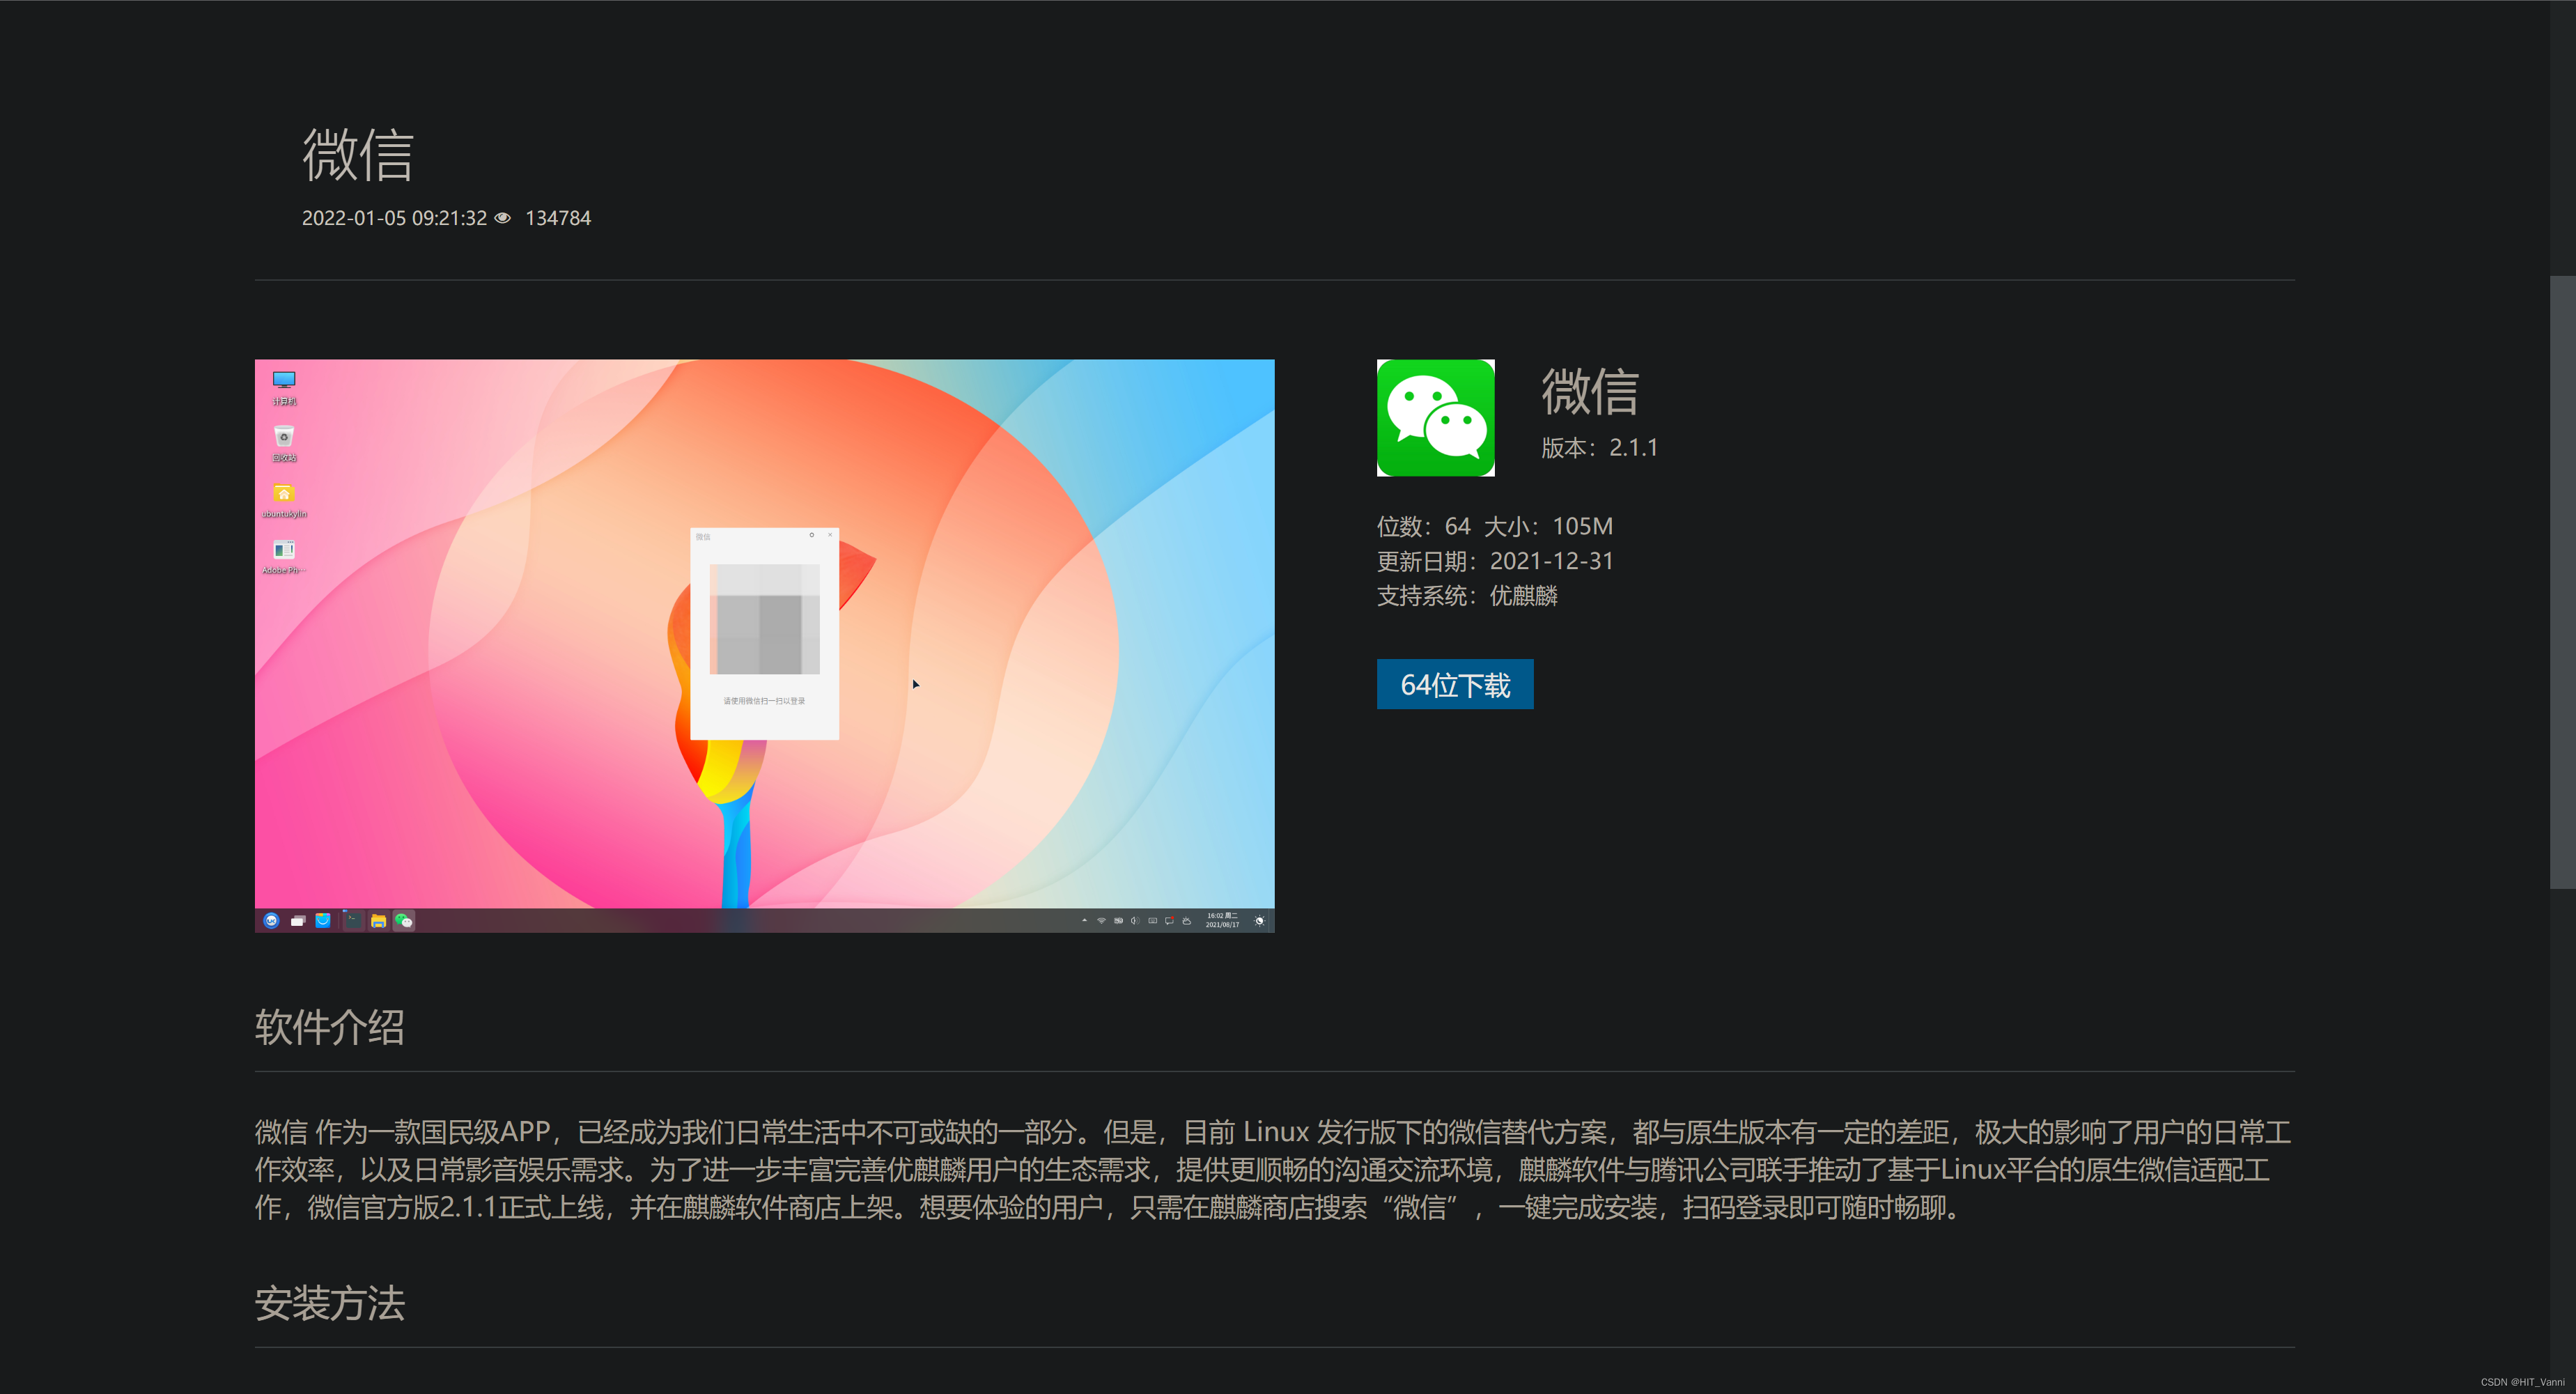
    通过以下教程可以快速的安装官方版微信,本教程适用于Ubuntu16.04/18.04/20.04/22.04 进入微信下载官网下载微信Linux客户端 点击64位下载即可,如果不能下载,使用终端如下命令 双击deb文件,点击install进行安装 安装成功,可以在菜单中点击运行

    2024年02月08日
    浏览(45)
  • Ubuntu安装向日葵远程控制——Ubuntu18.04/20.04/22.04

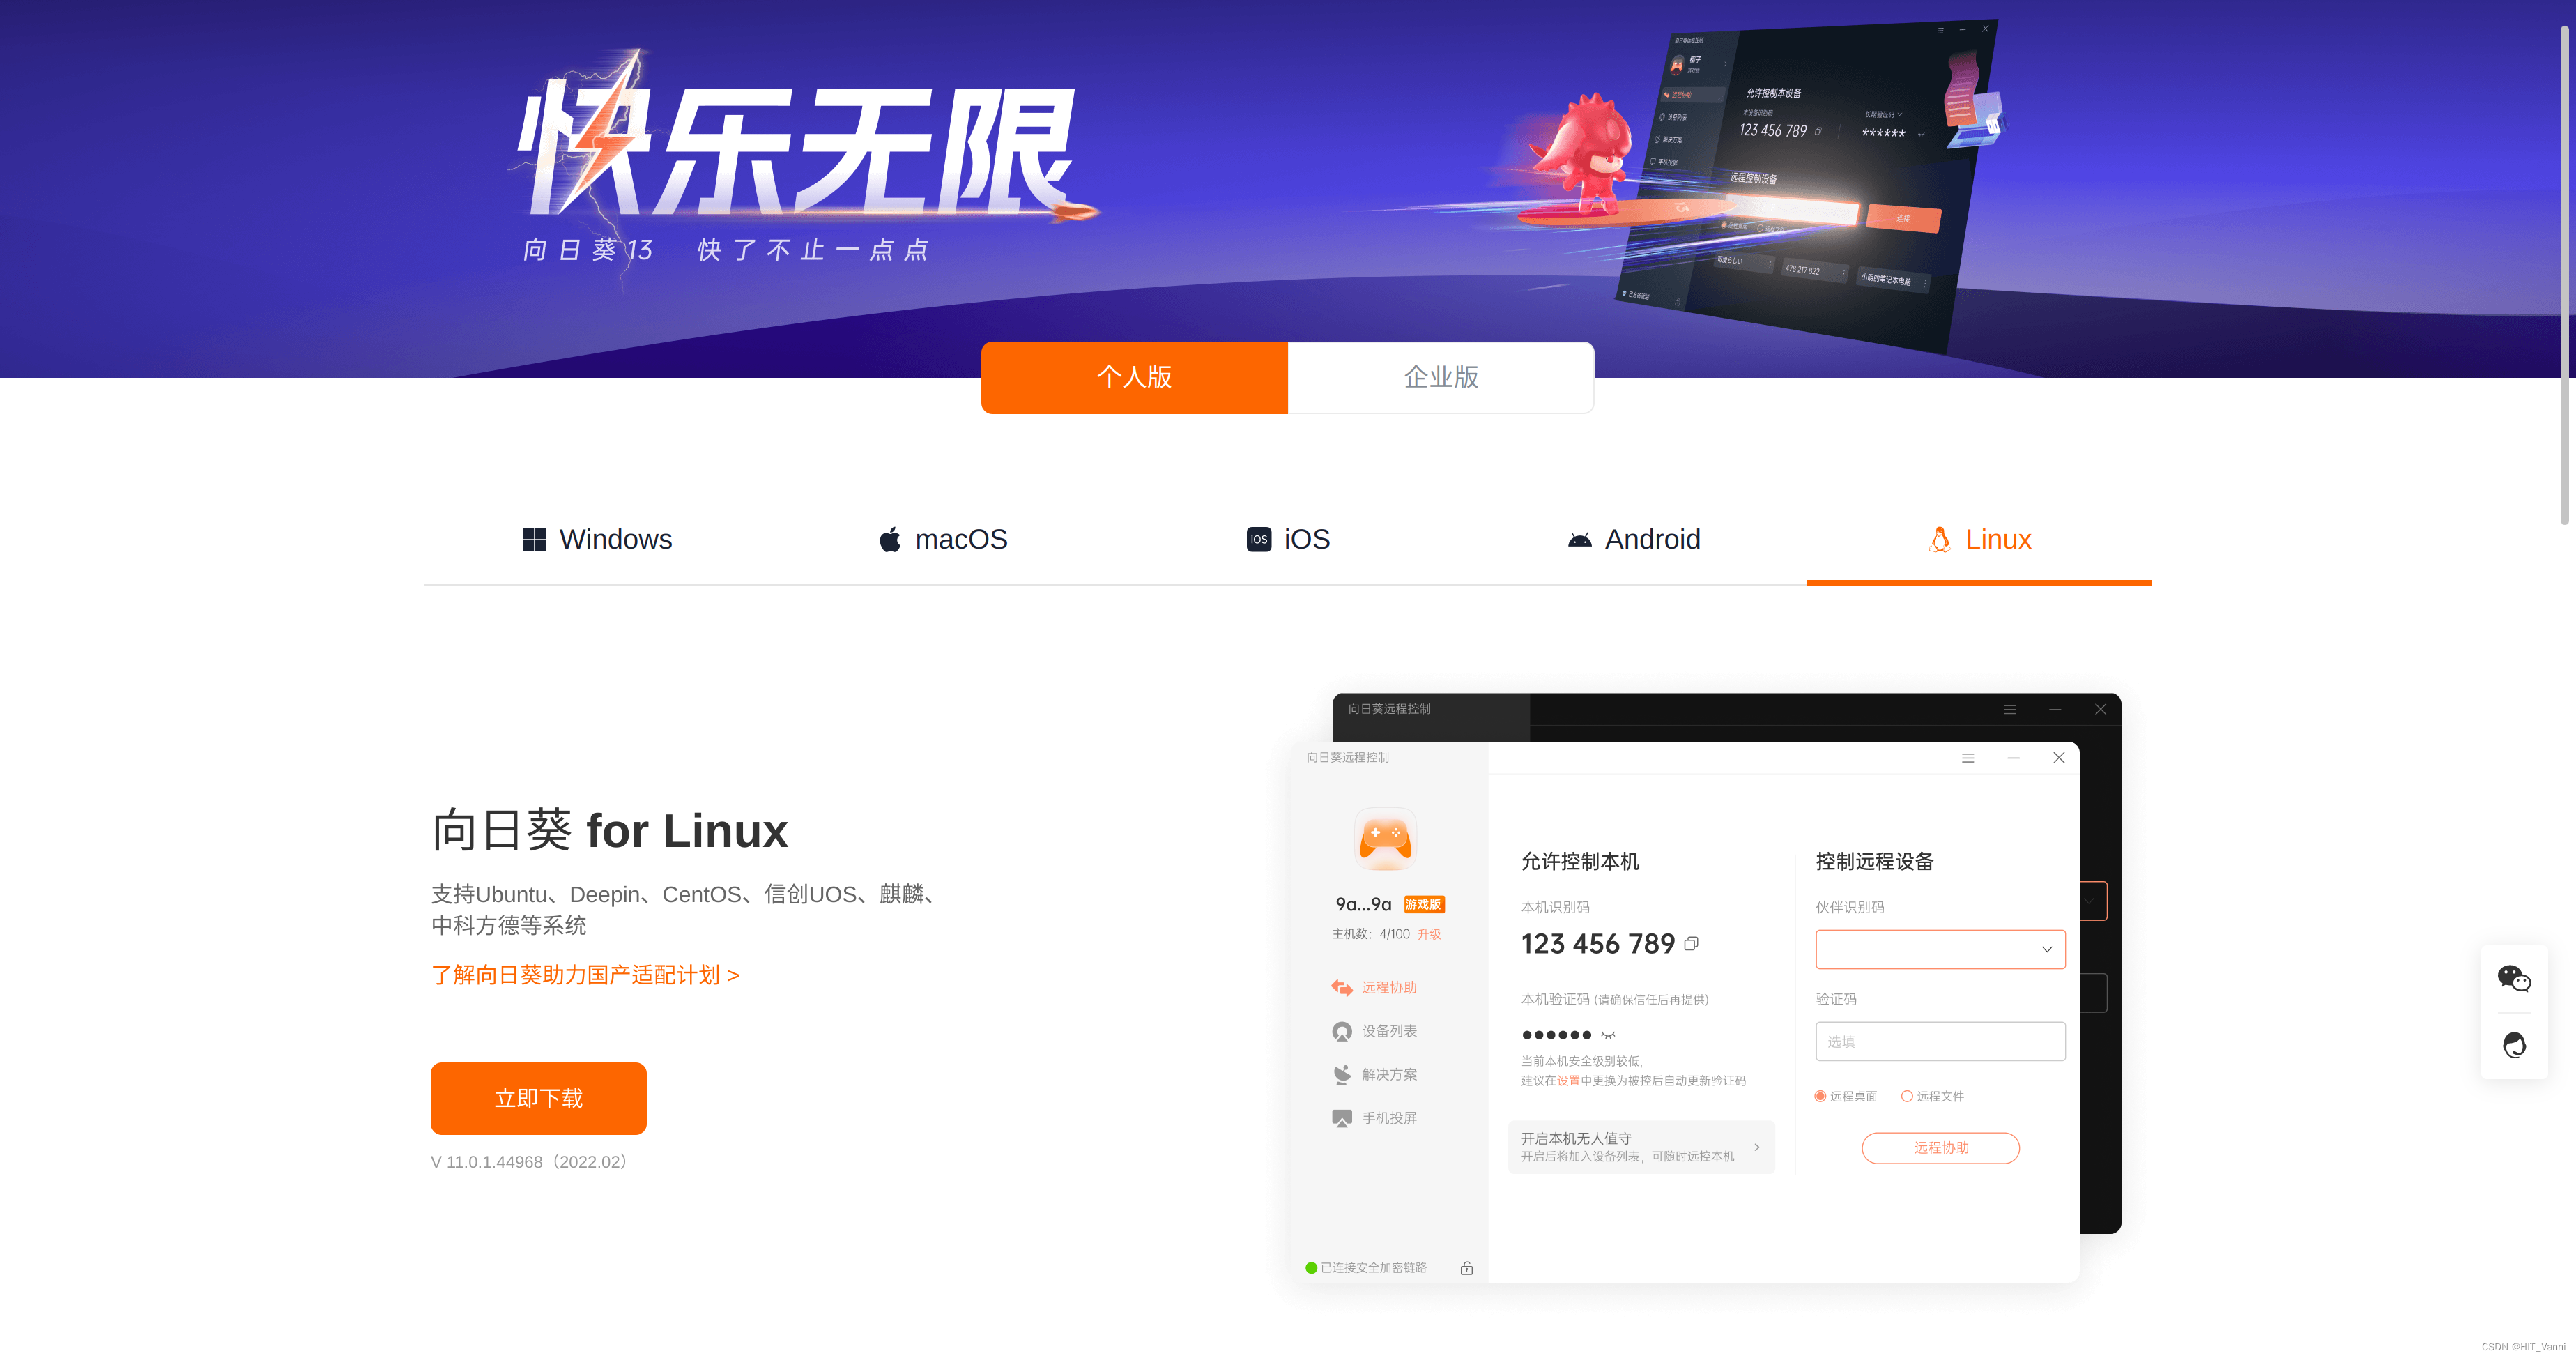
    通过以下教程可以快速的安装向日葵远程控制,本教程适用于Ubuntu18.04/20.04/22.04 进入向日葵远程控制下载官网下载向日葵远程控制Linux客户端 选择图形版本安装包下载,可以看到适用于17.04及以上版本 双击deb文件,点击install进行安装 安装成功,在菜单里可以打开

    2024年02月12日
    浏览(50)
  • 无线网卡驱动安装 (驱动为rtl8811CU)基于NVIDIA XAVIER NX 下的ubuntu18.04 和ubuntu20.04两个不同版本

    提示:文章写完后,目录可以自动生成,如何生成可参考右边的帮助文档 基于NVIDIA Xavier NX 此处是绿联AC650M,根据商家的教程,显示我ubuntu内核太高。因此不能用他们提供的驱动。 奇怪的是我在ubuntu20.04使用的方法在18.04上就不适用,因此我在这分为两个不同版本进行演示安

    2024年02月15日
    浏览(53)
  • 从头搭建Android源码编译环境(Ubuntu 18.04 / 20.04 / 22.04)

    在新安装的Ubuntu上(版本20.04LTS),完成搭建Android源码编译环境步骤如下。 顺带说一句,当前用的比较多的Ubuntu是18.04和20.04,在实际项目中一直在用,可用性和稳定性都没问题。 最新的Ubuntu22.04版本,系统默认的二进制库变化比较大,编译Android源码有问题(实测过,没细研

    2024年02月06日
    浏览(156)
  • ubuntu20.04到ubuntu18.04安装英伟达(nvidia)显卡驱动的血泪史

    吐槽!:跟舍友在Ubuntu18.04上装了三天三夜的NVIDIA显卡驱动,真的是快装吐了(是一整天都在搞环境,找各种缺的包、看各种教程。。。差点给我气咯pi了...不过终于在第三天晚上我成功的配好了)我实验室有个2060的好看小姐姐配了一个周,我真的是佩服(严肃脸) 在这感谢

    2023年04月08日
    浏览(65)
  • Ubuntu18.04/20.04/22.04的Apollo8.0软件包安装(免编译)

    本文主要介绍在如何使用软件包(即 deb 包)的方式来安装 Apollo,相对于源码方式安装,软件包安装方式不需要编译,更加快捷。但是对环境的支持比较单一,如果在自定义环境内安装,请移步源码安装方式 1. 安装 Ubuntu Linux 安装 Ubuntu 18.04+ 的步骤,参见 官方安装指南。 完

    2024年02月05日
    浏览(63)
  • 【联想PC win11系统安装Ubuntu18.04/Ubuntu20.04】全程记录安装过程,和网卡驱动、显卡驱动等安装以及后续一系列问题

    电脑为联想台式机:Lenovo IdeaCentre-GeekPro 内存:32G 磁盘:512G固态硬盘+2T机械硬盘 CPU:i7-12700 GPU:NVIDIA RTX3060 学习需要安装Ubuntu18.04和win11系统共存。 之前装过Ubuntu16.04因为内核版本太老,显卡、声卡、有线无线网卡、蓝牙驱动都没有…,直接一个毛坯房了属于是,没有显卡驱

    2024年02月04日
    浏览(100)

觉得文章有用就打赏一下文章作者

支付宝扫一扫打赏

博客赞助

微信扫一扫打赏

请作者喝杯咖啡吧~博客赞助

支付宝扫一扫领取红包,优惠每天领

二维码1

领取红包

二维码2

领红包