提示:看完这个简单的demo 后就知道怎样去操作一个PDF了
文章目录
- 前言
- 一、前提准备
-
二、使用步骤
- 1.引入库
- 2.以下是部分代码的作用
- 总结
前言
提示:操作PDF其实是一件很简单的事情,比一般的CRUD都简单
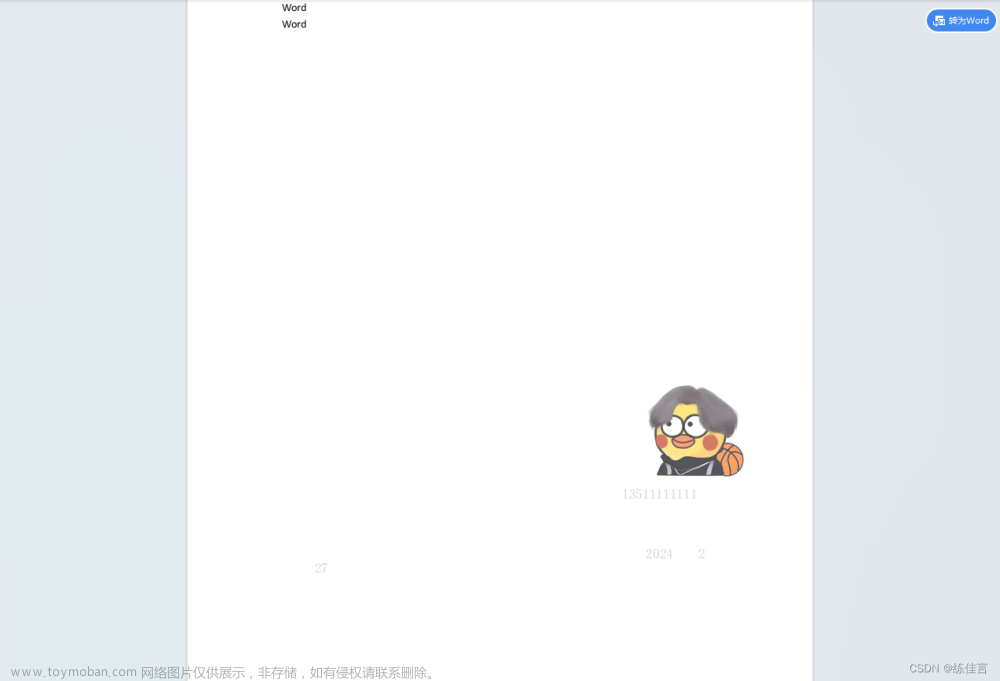
例如:我们拿到了一个需求,我需要给这个PDF设置一个电子签名(就是一张图片盖在这个PDF上,然后输出到服务器的某个指定文件夹中)和年月日(自定义的文字)
提示:以下是本篇文章正文内容,下面案例可供参考
一、前提准备
示例:因为我这个是demo 所以我们准备两个文件
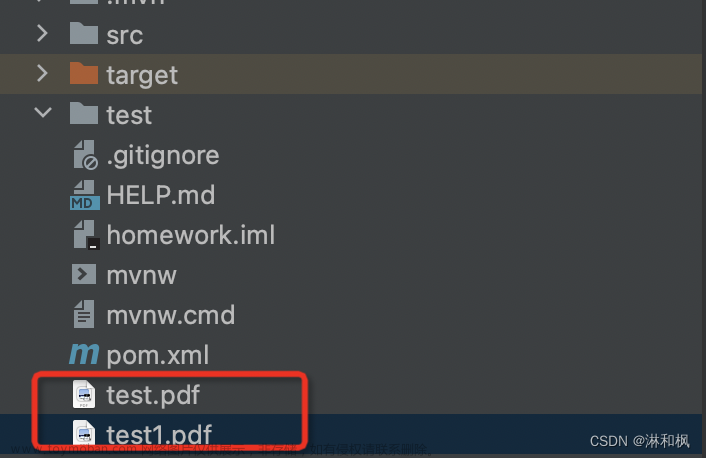
1.原始PDF(模板PDF,需要操作的文件) J:/test.pdf
2.需要放到PDF种的签名(就是一张图片嘛)J:/666.png
二、使用步骤
1.引入库
代码如下(示例):
其实我们只需要用到两个包,maven引入即可(复制过去)
<!-- pdfbox -->
<dependency>
    <groupId>org.apache.pdfbox</groupId>
    <artifactId>pdfbox</artifactId>
    <version>2.0.28</version>
</dependency>
<!-- itextpdf -->
<dependency>
    <groupId>com.itextpdf</groupId>
    <artifactId>itextpdf</artifactId>
    <version>5.5.13.3</version>
</dependency>
2.以下是部分代码的作用
代码如下(示例):
首先我们需要读取这两个文件(路径换成你自己的服务器路径就好)File file = ResourceUtils.getFile("J:/test.pdf");
Image img = Image.getInstance("J:/ikun.jpg");

  然后我们需要提前设置需要输出的路径(就是你生成后文件放到哪儿)
PdfStamper stamper = new PdfStamper(reader, Files.newOutputStream(Paths.get("J:/abc.pdf")));
图片操作的代码块
PdfGState pdfGState = new PdfGState();
pdfGState.setFillOpacity(0.7F);
contentByte.setGState(pdfGState);
//图片的位置
img.setAbsolutePosition(430, 220);
//这是图片的尺寸
img.scaleAbsolute(100, 100);
img.setCompressionLevel(100);
文字的代码块
//设置字体大小contentByte.setFontAndSize(BaseFont.createFont(fontFile.getAbsolutePath(),BaseFont                .IDENTITY_H,BaseFont.NOT_EMBEDDED), 13f);
// 设置文字
contentByte.setColorFill(BaseColor.LIGHT_GRAY);
contentByte.showTextAligned(Element.ALIGN_CENTER, "13511111111", 450, 200, 0);
contentByte.showTextAligned(Element.ALIGN_CENTER,                 String.valueOf(LocalDate.now().getYear()), 450, 143, 0);
contentByte.showTextAligned(Element.ALIGN_CENTER,                 String.valueOf(LocalDate.now().getMonthValue()), 490, 143, 0);
contentByte.showTextAligned(Element.ALIGN_CENTER,                 String.valueOf(LocalDate.now().getDayOfMonth()), 128, 130, 0);
上面就是文件和文字的操作
3.总体的DEMO代码
package com.cm.email;

import com.itextpdf.text.BaseColor;
import com.itextpdf.text.DocumentException;
import com.itextpdf.text.Element;
import com.itextpdf.text.Image;
import com.itextpdf.text.pdf.*;
import lombok.extern.slf4j.Slf4j;
import org.springframework.util.ResourceUtils;
import org.springframework.web.bind.annotation.PostMapping;
import org.springframework.web.bind.annotation.RestController;

import java.io.File;
import java.io.IOException;
import java.io.InputStream;
import java.nio.file.Files;
import java.nio.file.Paths;
import java.time.LocalDate;


@Slf4j
@RestController
public class WaterMarkUtils {

    @PostMapping("/set-pdf")
    public void pdfs() throws DocumentException, IOException {
        File file = ResourceUtils.getFile("J:/test.pdf");
        Image img = Image.getInstance("J:/ikun(1).jpg");
        File fontFile = ResourceUtils.getFile("classpath:font/simfang.ttf");
        InputStream inputStream = Files.newInputStream(file.toPath());
        // 读取原始 PDF 文件
        PdfReader reader = new PdfReader(inputStream);
        PdfStamper stamper = new PdfStamper(reader, Files.newOutputStream(Paths.get("J:/abc.pdf")));
        try {
            // 获取 PDF 中的页数
            int pageCount = reader.getNumberOfPages();
            // 获取第几页pdf
            PdfContentByte contentByte = stamper.getOverContent(pageCount);
            contentByte.beginText();
            //给图片设置透明度
            PdfGState pdfGState = new PdfGState();
            pdfGState.setFillOpacity(0.7F);
            contentByte.setGState(pdfGState);
            //图片的位置
            img.setAbsolutePosition(430, 220);
            //这是图片的尺寸
            img.scaleAbsolute(100, 100);
            img.setCompressionLevel(100);
            //设置字体大小
            contentByte.setFontAndSize(BaseFont.createFont(fontFile.getAbsolutePath(),BaseFont.IDENTITY_H,BaseFont.NOT_EMBEDDED), 13f);
            // 设置文字
            contentByte.setColorFill(BaseColor.LIGHT_GRAY);
            contentByte.showTextAligned(Element.ALIGN_CENTER, "13511111111", 450, 200, 0);
            contentByte.showTextAligned(Element.ALIGN_CENTER, String.valueOf(LocalDate.now().getYear()), 450, 143, 0);
            contentByte.showTextAligned(Element.ALIGN_CENTER, String.valueOf(LocalDate.now().getMonthValue()), 490, 143, 0);
            contentByte.showTextAligned(Element.ALIGN_CENTER, String.valueOf(LocalDate.now().getDayOfMonth()), 128, 130, 0);
            //添加图品结束等等
            contentByte.addImage(img);
            contentByte.endText();
        }catch (Exception e){
            e.printStackTrace();
        }finally {
            // 保存修改后的 PDF 文件并关闭文件流
            stamper.close();
            reader.close();
        }


    }

}
4.具体效果
总结
提示:关于字体这些东西,还有比如说文字的颜色啊,可以自己去看看,这里只是简单的演示文章来源:https://www.toymoban.com/news/detail-856071.html
以上就是今天要讲的内容,本文仅仅简单介绍了java操作PDF的使用,代理直接拿过去运行即可。文章来源地址https://www.toymoban.com/news/detail-856071.html
到了这里,关于JAVA PDF 给PDF添加文字/图片水印(指定内容),并且设置位置的文章就介绍完了。如果您还想了解更多内容,请在右上角搜索TOY模板网以前的文章或继续浏览下面的相关文章,希望大家以后多多支持TOY模板网!

