安装jupyter notebook
pip install notebook
#或者
conda install notebook
配置
jupyter notebook --generate-config
## The IP address the notebook server will listen on.
#  Default: 'localhost'
# 设置可以访问的ip, 默认是localhost, 将其改为 '*'
c.NotebookApp.ip = '*'


## The directory to use for notebooks and kernels.
#  Default: ''
# 默认打开目录
c.NotebookApp.notebook_dir = '/home/data123share66/python'


## Whether to open in a browser after starting.
#                          The specific browser used is platform dependent and
#                          determined by the python standard library `webbrowser`
#                          module, unless it is overridden using the --browser
#                          (NotebookApp.browser) configuration option.
#  Default: True
# Jupyter notebook启动后是否打开浏览器, 设为 False 即可
c.NotebookApp.open_browser = False


## Hashed password to use for web authentication.
#
#                        To generate, type in a python/IPython shell:
#
#                          from notebook.auth import passwd; passwd()
#
#                        The string should be of the form type:salt:hashed-
#  password.
#  Default: ''
c.NotebookApp.password = 'argon2:$argon2id$v=19$m=10240,t=10,p=8$Ny6WDdoLBm88cUMyOqgNqg$s3WObP81eU51RT2j8D8DULPM1OAPOnzYfODW8olB0xw'
密码设置
1、运行python
2、命令:from notebook.auth import passwd; passwd()
3、copy 密码
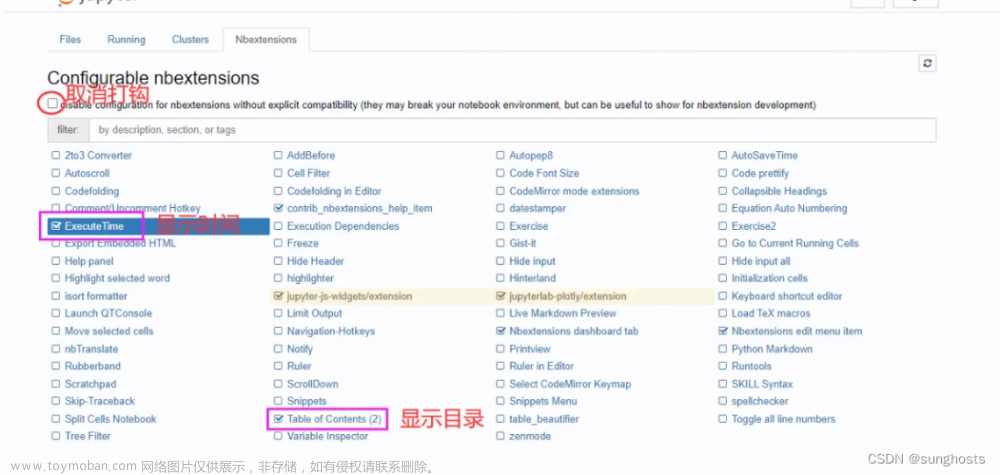
扩展插件
pip install jupyter_contrib_nbextensions

jupyter-contrib-nbextension install --user

后台运行
1、tmux new -s jupyter

2、jupyter notebook --ip=0.0.0.0 --port=9999 --allow-root

3、然后我们按住快捷键Ctrl+b,松开,再按一下d。我们就把这个会话放到了后台。

4、返回窗口:tmux attach -t jupyter
使用
在浏览器输入服务器的IP地址:9999,小编这里是34.81.173.39:9999,访问文章来源:https://www.toymoban.com/news/detail-857631.html
参考
https://blog.csdn.net/zhangtingduo/article/details/133945890
https://baijiahao.baidu.com/s?id=1759085502704856128&wfr=spider&for=pc文章来源地址https://www.toymoban.com/news/detail-857631.html
到了这里,关于Linux上部署Jupyter notebook的文章就介绍完了。如果您还想了解更多内容,请在右上角搜索TOY模板网以前的文章或继续浏览下面的相关文章,希望大家以后多多支持TOY模板网!


