一、简介
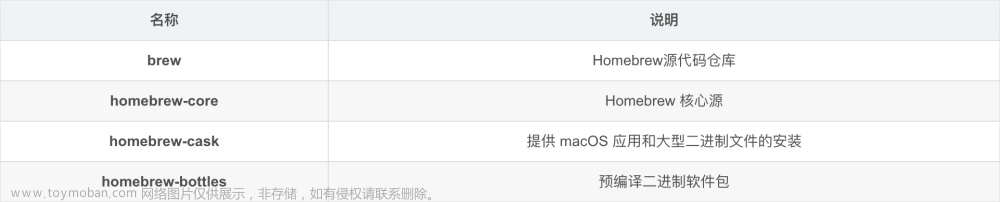
Homebrew是一款包管理工具,目前支持macOS和Linux系统。主要有四个部分组成:brew、homebrew-core 、homebrew-cask、homebrew-bottles
| 名称 | 说明 |
|---|---|
| brew | Homebrew源代码仓库 |
| homebrew-core | Homebrew 核心源 |
| homebrew-cask | 提供 macOS 应用和大型二进制文件的安装 |
| homebrew-bottles | 预编译二进制软件包 |
二、官方脚本下载安装及配置环境变量
首先我们可以进入官网地址获取下载链接,如下:

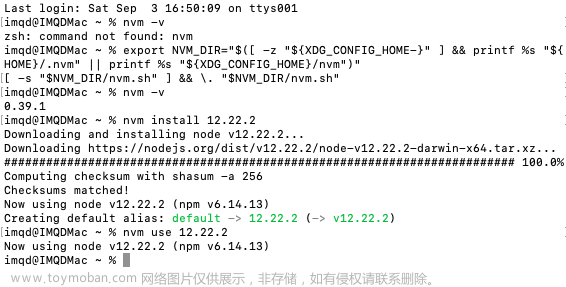
在安装完成后如果遇到command not found: brew的错误,一般是环境变量无效,这里则需要使用之前介绍使用过的echo $SHELL来确认终端类型,如下

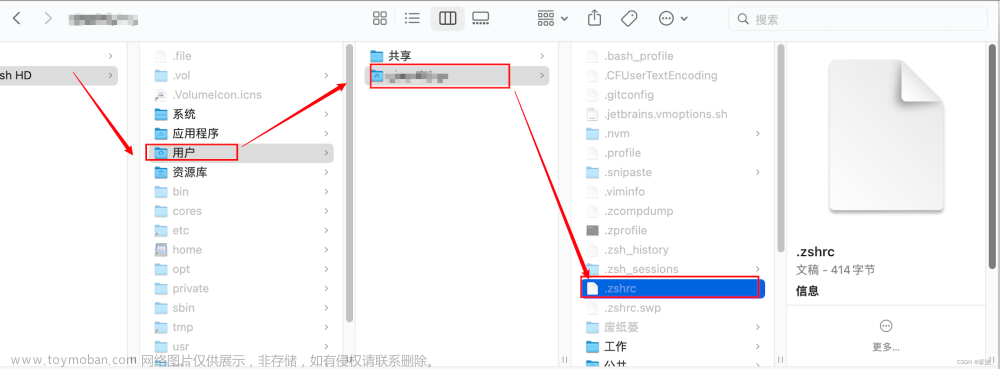
以前每个新用户的默认shell是/bin/bash,那么这里我们需要配置文件为~/.bash_profile,从macOS Catalina(10.15.x) 版开始,Mac使用/bin/zsh作为默认Shell,其对应的配置文件为~/.zshrc
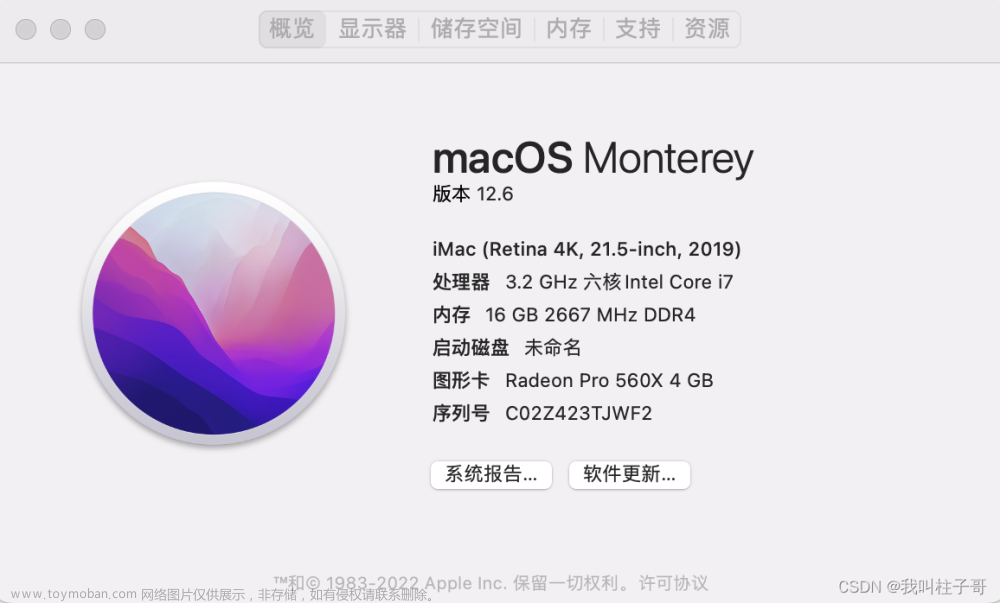
另外我们还需确定下我们电脑CPU的型号,这里可以通过uname -m来查看,如下

M1芯片ARM版Homebrew最终会被安装在/opt/homebrew路径下,而之前Intel芯片的Mac则会被安装到/usr/local/Homebrew路径下。
所以综上所述,我们在配置Homebrew环境变量的时候,需要结合不同的情况来进行相应的配置,如下:
M1芯片
echo 'eval "$(/opt/homebrew/bin/brew shellenv)"' >> ~/.zprofile
eval "$(/opt/homebrew/bin/brew shellenv)"
- bash
echo 'eval "$(/opt/homebrew/bin/brew shellenv)"' >> ~/.bash_profile
eval "$(/opt/homebrew/bin/brew shellenv)"
Intel芯片
- zsh
echo 'eval "$(/usr/local/Homebrew/bin/brew shellenv)"' >> ~/.zprofile
eval "$(/usr/local/Homebrew/bin/brew shellenv)"
- bash
echo 'eval "$(/usr/local/Homebrew/bin/brew shellenv)"' >> ~/.bash_profile
eval "$(/usr/local/Homebrew/bin/brew shellenv)"
三、GitHub加速
在使用官方脚本进行下载安装时,经常会遇到下面的错误提示:
curl: (7) Failed to connect to raw.githubusercontent.com port 443: Operation timed out
因为官方脚本无法使用的原因是raw.githubusercontent.com访问很不稳定,这里我们可以采用写入hosts的方式,可以一定程度解决GitHub资源无法访问的问题。
3.1、Mac
这里我们可以打开/etc/hosts文件,在其中添加相关配置即可,具体操作可参考:
- 主站:https://github.com/ineo6/hosts
- 镜像地址:https://gitee.com/ineo6/hosts
最后我们需要刷新缓存,如下
sudo killall -HUP mDNSResponder
3.2、Windows
另外如果是Windows环境,同理我们将上述文章中内容追加到C:/windows/system32/drivers/etc/hosts文件中,刷新缓存即可。
ipconfig /flushdns
PS:如果觉得需要自己定时去上述hosts文件中的内容太过于麻烦的话,这里推荐可使用通过SwitchHosts来自动更新,操作很简单,支持跨平台,添加一条hosts规则并启用,然后就可以按设置的时间间隔自动与最新的hosts保持同步了。
四、镜像脚本安装
如果通过官方提供的方式无法成功安装,这里推荐使用Homebrew的镜像脚本来进行安装,这里比较推荐两个,首先是如下脚本:
/bin/bash -c "$(curl -fsSL https://cdn.jsdelivr.net/gh/ineo6/homebrew-install/install.sh)"
该脚本用了中科大镜像加速访问,仅修改仓库地址部分,不会产生安全隐患。
关于中科大所提供的Homebrew镜像服务
- https://mirrors.ustc.edu.cn/help/brew.git.html?highlight=homebrew
- https://lug.ustc.edu.cn/wiki/mirrors/help/brew.git/
关于清华所提供的Homebrew镜像服务
- https://mirror.tuna.tsinghua.edu.cn/help/homebrew/
若出现Error: Checksum mismatch. 错误,报错代码如下
curl: (56) LibreSSL SSL_read: SSL_ERROR_SYSCALL, errno 54
Error: Checksum mismatch.
Expected: b065e5e3783954f3e65d8d3a6377ca51649bfcfa21b356b0dd70490f74c6bd86
Actual: e8a348fe5d5c2b966bab84052062f0317944122dea5fdfdc84ac6d0bd513c137
Archive: /Users/rocky/Library/Caches/Homebrew/portable-ruby-2.6.3_2.yosemite.bottle.tar.gz
To retry an incomplete download, remove the file above.
Error: Failed to install Homebrew Portable Ruby (and your system version is too old)!
Failed during: /usr/local/bin/brew update --force
这里是由于Homebrew目录下的portable-ruby-2.6.3_2.yosemite.bottle.tar.gz文件引起的安装中断,只需要到上面对应的路径里,删掉这个文件,重新执行安装命令即可。
如果上述命令执行卡在如下信息处
==> Tapping homebrew/core
Cloning into ‘/opt/homebrew/Library/Taps/homebrew/homebrew-core’…
请Control+C中断脚本执行如下命令:
cd "$(brew --repo)/Library/Taps/"
mkdir homebrew && cd homebrew
git clone git://mirrors.ustc.edu.cn/homebrew-core.git
安装cask 同样也有安装失败或者卡住的问题,解决方法也是一样:
cd "$(brew --repo)/Library/Taps/"
cd homebrew
git clone https://mirrors.ustc.edu.cn/homebrew-cask.git
成功执行之后继续执行安装命令,最后看到如何命令就说明安装成功了
==> Installation successful!
最后使用下面的命令进行更新即可
brew update
如果遇到解决不了的问题,先卸载Homebrew再重新安装,官方提供的卸载脚本如下:
/bin/bash -c "$(curl -fsSL https://raw.githubusercontent.com/Homebrew/install/HEAD/uninstall.sh)"
当然使用官方脚本同样会遇到uninstall地址无法访问问题,那么就可以使用下面脚本:
/bin/bash -c "$(curl -fsSL https://cdn.jsdelivr.net/gh/ineo6/homebrew-install/uninstall.sh)"
这里删除不仅可以通过脚本进行卸载删除,还可以在文件夹中进行删除,如下
# 目录替换为真实的brew位置
sudo rm -rf 目录
另外在Mac电脑的终端中,还可以执行open /opt/homebrew/打开文件夹界面进行删除。
PS:各个环境下Homebrew的安装路径:
- Intel安装目录:
/usr/local/Homebrew - m1 arm安装目录:
/opt/homebrew - linux安装目录:
/home/linuxbrew
第二种方法就更加的简便了,我们只需要把下面的脚本内容复制到终端执行即可
/bin/zsh -c "$(curl -fsSL https://gitee.com/cunkai/HomebrewCN/raw/master/Homebrew.sh)"
然后根据终端中出现的提示进行选择即可,如果后续需要卸载也是比较方便的,如下:
/bin/zsh -c "$(curl -fsSL https://gitee.com/cunkai/HomebrewCN/raw/master/HomebrewUninstall.sh)"
五、更换镜像源
上述介绍到,Homebrew通常用来下载安装软件的,但它在下载软件时非常慢。为了提升下载速度,需要更改Homebrew的安装源,将其替换成国内镜像。
5.1、中科大
这里用由中科大负责托管维护的Homebrew镜像为例。其中brew、homebrew-core是必备项目,homebrew-cask、homebrew-bottles按需设置。可通过 brew config 命令可以查看相关配置信息。
# brew
git -C "$(brew --repo)" remote set-url origin https://mirrors.ustc.edu.cn/brew.git
# homebrew-core
git -C "$(brew --repo homebrew/core)" remote set-url origin https://mirrors.ustc.edu.cn/homebrew-core.git
# homebrew-cask
git -C "$(brew --repo homebrew/cask)" remote set-url origin https://mirrors.ustc.edu.cn/homebrew-cask.git

brew update
另外如需设置bottles镜像,还需要配置环境变量,这里配置文件的判断上面已经介绍过来,这里就不再赘述了,按照不同的情况选择下面的其中一种配置即可。
# zsh
echo 'export HOMEBREW_BOTTLE_DOMAIN=https://mirrors.ustc.edu.cn/homebrew-bottles/bottles' >> ~/.zprofile
source ~/.zprofile

# bash
echo 'export HOMEBREW_BOTTLE_DOMAIN=https://mirrors.ustc.edu.cn/homebrew-bottles/bottles' >> ~/.bash_profile
source ~/.bash_profile
除了中科大的镜像源外,我们还可以使用其他的镜像源进行配置
5.2、清华
# brew
git -C "$(brew --repo)" remote set-url origin https://mirrors.tuna.tsinghua.edu.cn/git/homebrew/brew.git
# homebrew-core
git -C "$(brew --repo homebrew/core)" remote set-url origin https://mirrors.tuna.tsinghua.edu.cn/git/homebrew/homebrew-core.git
# homebrew-cask
git -C "$(brew --repo homebrew/cask)" remote set-url origin https://mirrors.tuna.tsinghua.edu.cn/git/homebrew/homebrew-cask.git

brew update
# zsh
echo 'export HOMEBREW_BOTTLE_DOMAIN=https://mirrors.tuna.tsinghua.edu.cn/homebrew-bottles/bottles' >> ~/.zprofile
source ~/.zprofile

# bash
echo 'export HOMEBREW_BOTTLE_DOMAIN=https://mirrors.tuna.tsinghua.edu.cn/homebrew-bottles/bottles' >> ~/.bash_profile
source ~/.bash_profile
5.3、腾讯
# brew
git -C "$(brew --repo)" remote set-url origin https://mirrors.cloud.tencent.com/homebrew/brew.git
# homebrew-core
git -C "$(brew --repo homebrew/core)" remote set-url origin https://mirrors.cloud.tencent.com/homebrew/homebrew-core.git
# homebrew-cask
git -C "$(brew --repo homebrew/cask)" remote set-url origin https://mirrors.cloud.tencent.com/homebrew/homebrew-cask.git

brew update
# zsh
echo 'export HOMEBREW_BOTTLE_DOMAIN=https://mirrors.cloud.tencent.com/homebrew-bottles/bottles' >> ~/.zprofile
source ~/.zprofile

# bash
echo 'export HOMEBREW_BOTTLE_DOMAIN=https://mirrors.cloud.tencent.com/homebrew-bottles/bottles' >> ~/.bash_profile
source ~/.bash_profile
5.4、北京外国语
# brew
git -C "$(brew --repo)" remote set-url origin https://mirrors.bfsu.edu.cn/git/homebrew/brew.git
# homebrew-core
git -C "$(brew --repo homebrew/core)" remote set-url origin https://mirrors.bfsu.edu.cn/git/homebrew/homebrew-core.git
# homebrew-cask
git -C "$(brew --repo homebrew/cask)" remote set-url origin https://mirrors.bfsu.edu.cn/git/homebrew/homebrew-cask.git

brew update
# zsh
echo 'export HOMEBREW_BOTTLE_DOMAIN=https://mirrors.bfsu.edu.cn/homebrew-bottles/bottles' >> ~/.zprofile
source ~/.zprofile

# bash
echo 'export HOMEBREW_BOTTLE_DOMAIN=https://mirrors.bfsu.edu.cn/homebrew-bottles/bottles' >> ~/.bash_profile
source ~/.bash_profile
5.5、阿里
# brew
git -C "$(brew --repo)" remote set-url origin https://mirrors.aliyun.com/homebrew/brew.git
# homebrew-core
git -C "$(brew --repo homebrew/core)" remote set-url origin https://mirrors.aliyun.com/homebrew/homebrew-core.git
# homebrew-cask
# 缺少

brew update
# zsh
echo 'export HOMEBREW_BOTTLE_DOMAIN=https://mirrors.aliyun.com/homebrew/homebrew-bottles' >> ~/.zprofile
source ~/.zprofile

# bash
echo 'export HOMEBREW_BOTTLE_DOMAIN=https://mirrors.aliyun.com/homebrew/homebrew-bottles' >> ~/.bash_profile
source ~/.bash_profile
六、恢复默认源
如果我们想要恢复Homebrew的默认镜像源也是非常的简单,其中brew、homebrew-core、homebrew-cask可通过执行如下脚本命令进行恢复文章来源:https://www.toymoban.com/news/detail-859745.html
# brew
git -C "$(brew --repo)" remote set-url origin https://github.com/Homebrew/brew.git
# homebrew-core
git -C "$(brew --repo homebrew/core)" remote set-url origin https://github.com/Homebrew/homebrew-core.git
# homebrew-cask
git -C "$(brew --repo homebrew/cask)" remote set-url origin https://github.com/Homebrew/homebrew-cask.git

brew update
其中homebrew-bottles配置只能手动删除,将~/.zprofile文件中的HOMEBREW_BOTTLE_DOMAIN=https://mirrors.xxx.com内容删除,并执行source ~/.zprofile即可文章来源地址https://www.toymoban.com/news/detail-859745.html
七、Homebrew常用命令
- 查看版本
brew -v
- 更新Homebrew
brew update
- 查看安装列表
brew list
- 搜索、安装、更新、卸载软件,以git为例
# 搜索软件
brew search git
# 安装软件
brew install git
# 更新软件
brew upgrade git
# 卸载软件
brew uninstall git
- 查看需要更新的软件
brew outdated
- 清理旧版本
# 查看可清理的旧版本包,不执行实际操作
brew cleanup -n
# 清理所有包的旧版本
brew cleanup
# 清理指定包的旧版本
brew cleanup git
到了这里,关于Mac如何安装Homebrew的文章就介绍完了。如果您还想了解更多内容,请在右上角搜索TOY模板网以前的文章或继续浏览下面的相关文章,希望大家以后多多支持TOY模板网!