更多ruoyi-nbcio功能请看演示系统
gitee源代码地址
前后端代码: https://gitee.com/nbacheng/ruoyi-nbcio
演示地址:RuoYi-Nbcio后台管理系统 http://218.75.87.38:9666/
更多nbcio-boot功能请看演示系统
gitee源代码地址
后端代码: https://gitee.com/nbacheng/nbcio-boot
前端代码:https://gitee.com/nbacheng/nbcio-vue.git
在线演示(包括H5) : http://218.75.87.38:9888
为了适配项目ruoyi-nbcio-plus的文件上传,所以做了一些改造,具体如下:
1、file-upload-widget.vue
增加了下面代码
props: {
      field: Object,
      parentWidget: Object,
      parentList: Array,
      indexOfParentList: Number,
      designer: Object,

      designState: {
        type: Boolean,
        default: false
      },

      subFormRowIndex: { /* 子表单组件行索引,从0开始计数 */
        type: Number,
        default: -1
      },
      subFormColIndex: { /* 子表单组件列索引,从0开始计数 */
        type: Number,
        default: -1
      },
      subFormRowId: { /* 子表单组件行Id,唯一id且不可变 */
        type: String,
        default: ''
      },
      nbcioHeader: { // for ruoyi-nbcio-plus使用
      		type: Object,
      		default: () => ({})
      },
    },
created() {
/* 注意:子组件mounted在父组件created之后、父组件mounted之前触发,故子组件mounted需要用到的prop
需要在父组件created中初始化!! */
this.initFieldModel()
this.registerToRefList()
this.initEventHandler()
this.buildFieldRules()
this.handleOnCreated()
//for ruoyi-nbcio-plus
this.uploadHeaders = this.nbcioHeader;
},
2、picture-upload-widget.vue也类似进行改造
3、widgetsConfig.js文件做了下面修改
export const advancedFields = [
  {
    type: 'picture-upload',
    icon: 'picture-upload-field',
    formItemFlag: true,
    options: {
      name: '',
      label: '',
      labelAlign: '',
      labelWidth: null,
      labelHidden: false,
      columnWidth: '200px',
      disabled: false,
      hidden: false,
      required: false,
      requiredHint: '',
      customRule: '',
      customRuleHint: '',
      //-------------------
      uploadURL: 'http://localhost:9060/common/upload',
      uploadTip: '',
      withCredentials: false,
      multipleSelect: false,
      showFileList: true,
      limit: 3,
      fileMaxSize: 5, //MB
      fileTypes: ['jpg', 'jpeg', 'png'],
      //headers: [],
      //-------------------
      customClass: '',  //自定义css类名
      labelIconClass: null,
      labelIconPosition: 'rear',
      labelTooltip: null,
      //-------------------
      onCreated: '',
      onMounted: '',
      onBeforeUpload: '',
      onUploadSuccess: '',
      onUploadError: '',
      onFileRemove: '',
      onValidate: '',
      //onFileChange: '',
    },

  },

  {
    type: 'file-upload',
    icon: 'file-upload-field',
    formItemFlag: true,
    options: {
      name: '',
      label: '',
      labelAlign: '',
      labelWidth: null,
      labelHidden: false,
      columnWidth: '200px',
      disabled: false,
      hidden: false,
      required: false,
      requiredHint: '',
      customRule: '',
      customRuleHint: '',
      //-------------------
      uploadURL: 'http://localhost:9060/common/upload',
      uploadTip: '',
      withCredentials: false,
      multipleSelect: false,
      showFileList: true,
      limit: 3,
      fileMaxSize: 5, //MB
      fileTypes: ['doc', 'docx', 'xls', 'xlsx', 'pdf'],
      //headers: [],
      //-------------------
      customClass: '',  //自定义css类名
      labelIconClass: null,
      labelIconPosition: 'rear',
      labelTooltip: null,
      //-------------------
      onCreated: '',
      onMounted: '',
      onBeforeUpload: '',
      onUploadSuccess: '',
      onUploadError: '',
      onFileRemove: '',
      onValidate: '',
      //onFileChange: '',
    },
  },
4、form-render文件做了下面调整
<template>
  <el-form :label-position="labelPosition" :size="size" :class="[customClass]" class="render-form"
           :label-width="labelWidth" :validate-on-rule-change="false"
           :model="formDataModel" ref="renderForm"
           @submit.prevent>
    <template v-for="(widget, index) in widgetList">
      <template v-if="'container' === widget.category">
        <component :is="getContainerWidgetName(widget)" :widget="widget" :key="widget.id" :parent-list="widgetList"
                        :index-of-parent-list="index" :parent-widget="null">
          <!-- 递归传递插槽!!! -->
          <template v-for="slot in Object.keys($slots)" v-slot:[slot]="scope">
            <slot :name="slot" v-bind="scope"/>
          </template>
        </component>
      </template>
      <template v-else>
        <component :is="getWidgetName(widget)" :nbcioHeader="nbcioHeader" :field="widget" :form-model="formDataModel" :designer="null" :key="widget.id" :parent-list="widgetList"
                      :index-of-parent-list="index" :parent-widget="null">
          <!-- 递归传递插槽!!! -->
          <template v-for="slot in Object.keys($slots)" v-slot:[slot]="scope">
            <slot :name="slot" v-bind="scope"/>
          </template>
        </component>
      </template>
    </template>
  </el-form>
</template>

<script>
  //import ElForm from 'element-ui/packages/form/src/form.vue'  /* 用于源码调试Element UI */
  import emitter from '@/utils/emitter'
  import './container-item/index'
  import FieldComponents from '@/components/form-designer/form-widget/field-widget/index'
  import {
    generateId, deepClone, insertCustomCssToHead, insertGlobalFunctionsToHtml, getAllContainerWidgets,
    getAllFieldWidgets, traverseFieldWidgets, buildDefaultFormJson
  } from "@/utils/util"
  import i18n, { changeLocale } from "@/utils/i18n"

  export default {
    name: "VFormRender",
    componentName: 'VFormRender',
    mixins: [emitter, i18n],
    components: {
      //ElForm,

      ...FieldComponents,
    },
    props: {
      formJson: { //prop传入的表单JSON配置
        type: Object,
        default: () => buildDefaultFormJson()
      },
      formData: { //prop传入的表单数据
        type: Object,
        default: () => ({})
      },
      optionData: { //prop传入的选项数据
        type: Object,
        default: () => ({})
      },
      previewState: { //是否表单预览状态
        type: Boolean,
        default: false
      },
      globalDsv: { // 全局数据源变量
        type: Object,
        default: () => ({})
      },
	  nbcioHeader: { // for ruoyi-nbcio-plus使用
		type: Object,
		default: () => ({})
	  },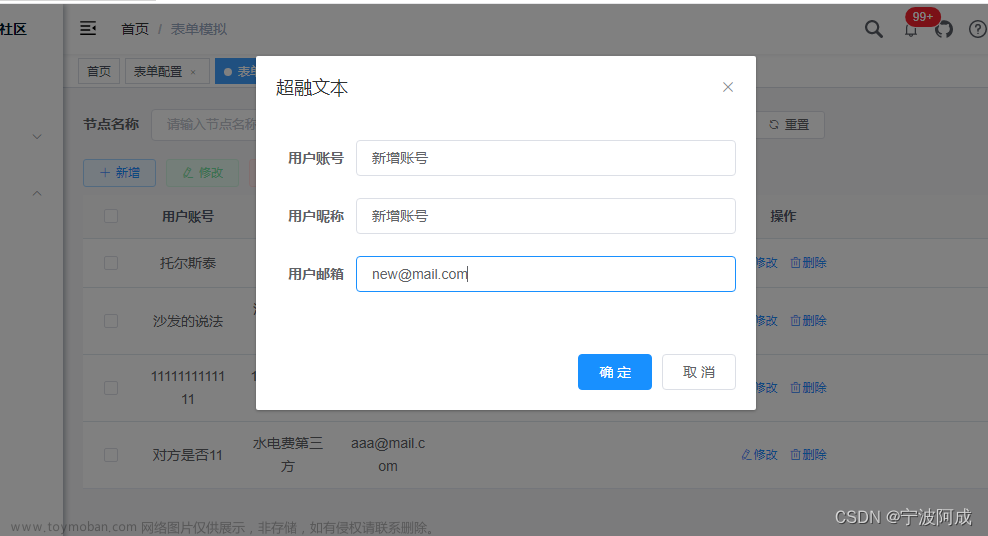
},5、效果图如下:文章来源:https://www.toymoban.com/news/detail-861022.html
 文章来源地址https://www.toymoban.com/news/detail-861022.html
到了这里,关于ruoyi-nbcio-plus基于vue3的flowable为了适配文件上传改造VForm3的代码记录的文章就介绍完了。如果您还想了解更多内容,请在右上角搜索TOY模板网以前的文章或继续浏览下面的相关文章,希望大家以后多多支持TOY模板网!