环境:python3.7 opencv-contrib-python 4.5.1.48
一、相机标定
相机标定就是求相机的内参矩阵mtx和畸变系数dist
- 首先需要利用相机(你需要标定的)拍摄标定板照片,20张左右。拍摄照片的时候各个角度都拍一些,可以变换标定板的位置,但不要大幅度变换相机(不要翻转镜头,上下颠倒相机等等)。
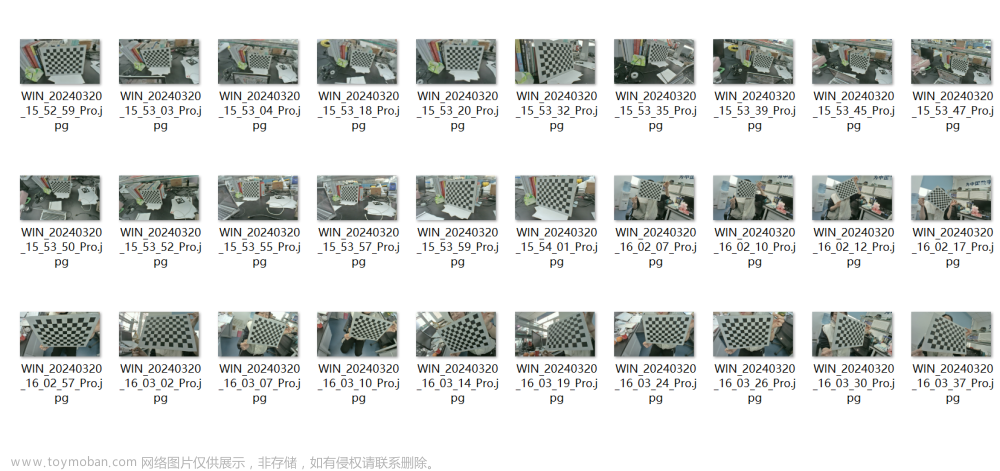
拍摄的时候看一下照片的属性,这个分辨率需要和后边识别marker时的视频流分辨率保持一致,否侧会测距不准。(博主踩过的大坑这是)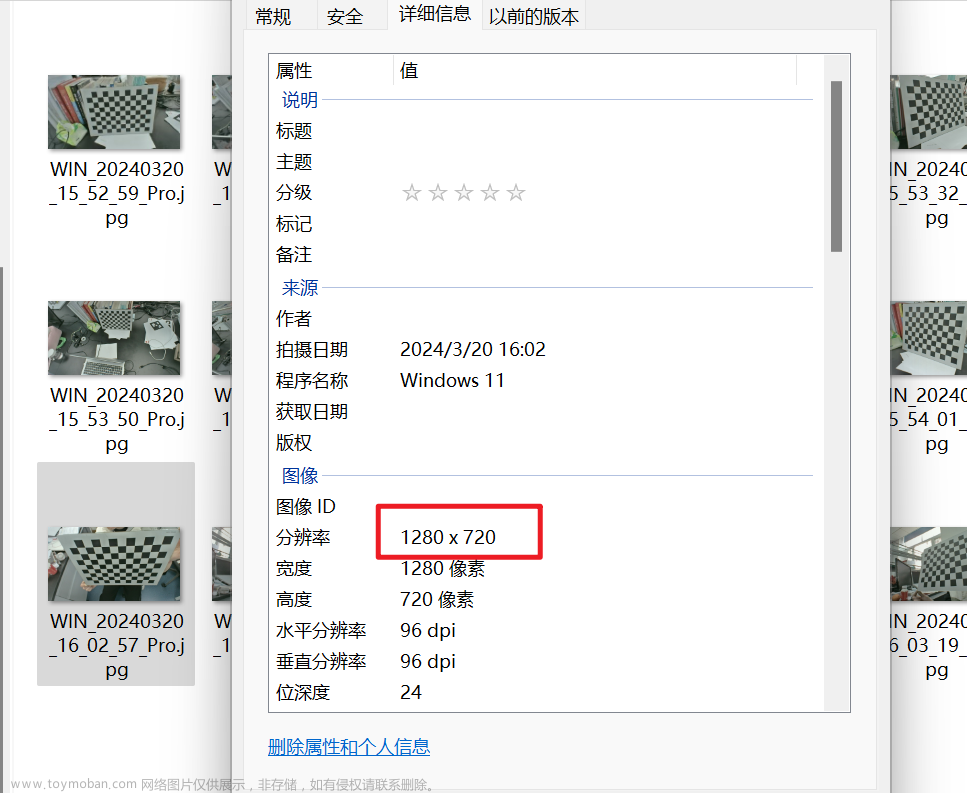
- 我标定的时候把重投影误差大于0.3个像素的删除了,这样标定的比较准一些。
import numpy as np
import cv2
import glob

cap = cv2.VideoCapture(1)

# 设置视频流的分辨率为 1280x720
cap.set(cv2.CAP_PROP_FRAME_WIDTH, 1280)
cap.set(cv2.CAP_PROP_FRAME_HEIGHT, 720)

# 设置用于相机标定的迭代算法的终止条件
criteria = (cv2.TERM_CRITERIA_EPS + cv2.TERM_CRITERIA_MAX_ITER, 30, 0.001)


# 设置棋盘格的规格
chessboard_size = (11, 8)  # 棋盘格内角点数目

# 初始化对象点和图像点列表
objpoints = []  # 3D points in real world space
imgpoints = []  # 2D points in image plane.

# 准备棋盘格对象点
objp = np.zeros((chessboard_size[0] * chessboard_size[1], 3), np.float32)
objp[:, :2] = np.mgrid[0:chessboard_size[0], 0:chessboard_size[1]].T.reshape(-1, 2)

# 遍历所有的图像文件路径
images = glob.glob('checkerboard1/*.jpg')

# 遍历所有的图像文件路径
for fname in images:
    img = cv2.imread(fname)  # 读取当前图像文件
    gray = cv2.cvtColor(img, cv2.COLOR_BGR2GRAY)  # 将当前图像转换为灰度图

    # 查找棋盘格角点
    ret, corners = cv2.findChessboardCorners(gray, chessboard_size, None)

    # 如果找到棋盘格角点
    if ret:
        # 将棋盘格角点添加到imgpoints列表中
        imgpoints.append(corners)
        # 添加相应的3D对象点
        objpoints.append(objp)


# 使用对象点和图像点进行相机标定,得到相机的内参矩阵、畸变系数以及旋转矩阵和平移矩阵
ret, mtx, dist, rvecs, tvecs = cv2.calibrateCamera(objpoints, imgpoints, gray.shape[::-1], None, None)

# 剔除重投影误差大于0.3的图像
new_objpoints = []
new_imgpoints = []
for i in range(len(objpoints)):
    imgpoints2, _ = cv2.projectPoints(objpoints[i], rvecs[i], tvecs[i], mtx, dist)
    error = cv2.norm(imgpoints[i], imgpoints2, cv2.NORM_L2) / len(imgpoints2)
    if error <= 0.3:
        new_objpoints.append(objpoints[i])
        new_imgpoints.append(imgpoints[i])

# 使用剔除后的点重新进行相机标定
ret, mtx, dist, rvecs, tvecs = cv2.calibrateCamera(new_objpoints, new_imgpoints, gray.shape[::-1], None, None)

# 计算重投影误差
mean_error = 0
for i in range(len(new_objpoints)):
    imgpoints2, _ = cv2.projectPoints(new_objpoints[i], rvecs[i], tvecs[i], mtx, dist)
    error = cv2.norm(new_imgpoints[i], imgpoints2, cv2.NORM_L2) / len(imgpoints2)
    mean_error += error

print("\剔除后相机内参:")
print(mtx)
print("\剔除后畸变系数")
print(dist)
# 输出重投影误差
print("\剔除后重投影", mean_error / len(new_objpoints))
3.输出结果
记住内参矩阵和畸变系数
二、计算相机位姿
1.导入库
import numpy as np
import cv2
import cv2.aruco as aruco
import math
2.捕捉视频流
设置视频流的分辨率(跟前边标定相机时拍摄照片的分辨率保持一致)
cap = cv2.VideoCapture(1)

# 设置视频流的分辨率为 1280x720
cap.set(cv2.CAP_PROP_FRAME_WIDTH, 1280)
cap.set(cv2.CAP_PROP_FRAME_HEIGHT, 720)
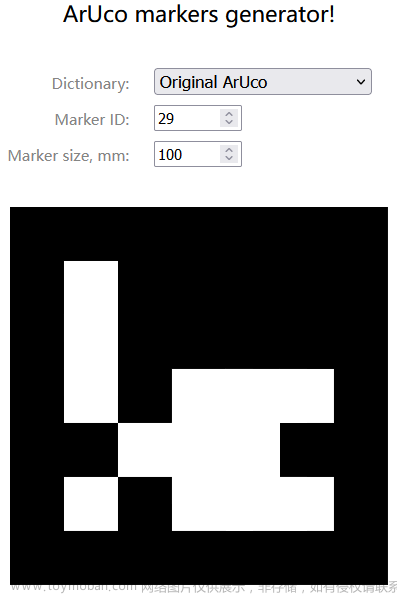
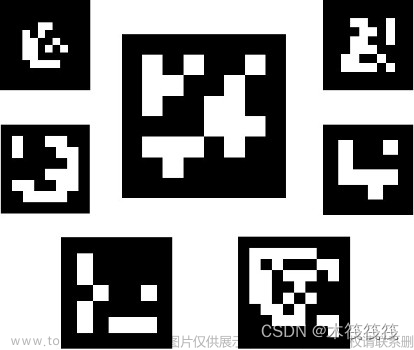
3.ArUco字典对象(我设置的是5*5)
aruco_dict = aruco.getPredefinedDictionary(aruco.DICT_5X5_100)
4.写计算位姿的函数
def estimate_pose(frame, mtx, dist):
    # 将图像转换为灰度图
    gray = cv2.cvtColor(frame, cv2.COLOR_BGR2GRAY)
    parameters = aruco.DetectorParameters_create()

    # 检测图像中的ArUco标记
    corners, ids, rejectedImgPoints = aruco.detectMarkers(gray, aruco_dict, parameters=parameters, cameraMatrix=mtx, distCoeff=dist)
    font = cv2.FONT_HERSHEY_SIMPLEX

    # 如果检测到ArUco标记
    if ids is not None and len(ids) > 0:
        for i in range(len(ids)):  # 遍历每个检测到的ArUco标记
            # 估计ArUco标记的姿态(旋转向量和平移向量)
            rvec, tvec, _ = aruco.estimatePoseSingleMarkers(corners[i], 0.10, mtx, dist)

            R, _ = cv2.Rodrigues(rvec)  # 将旋转向量(rvec)转换为旋转矩阵(R)3*3
            R_inv = np.transpose(R)  # 旋转矩阵是正交矩阵,所以它的逆矩阵等于它的转置 R_inv 表示从相机坐标系到标记坐标系的旋转。
            if tvec.shape != (3, 1):
                tvec_re = tvec.reshape(3, 1)
                #print('-------tvec_re------')
                #print(tvec_re)

            tvec_inv = -R_inv @ tvec_re
            tvec_inv1 = np.transpose(tvec_inv)
            pos = tvec_inv1[0]
            print(pos)
            distance = math.sqrt(pos[0]**2 + pos[1]**2 + pos[2]**2)
            rad = pos[0]/pos[2]
            angle_in_radians = math.atan(rad)
            angle_in_degrees = math.degrees(angle_in_radians)


            # 绘制ArUco标记的坐标轴
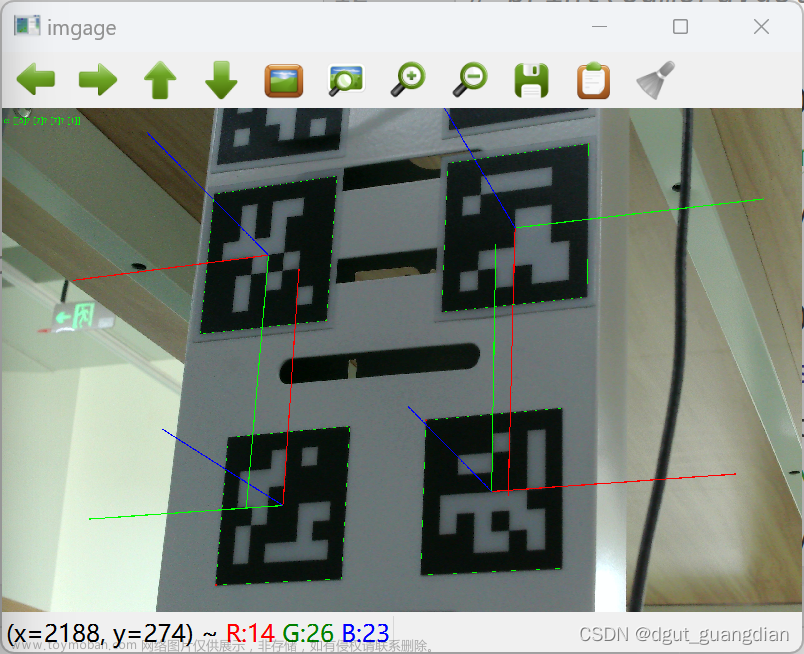
            cv2.drawFrameAxes(frame, mtx, dist, rvec, tvec, 0.05)

            tvec_inv_str = " ".join([f"{num:.2f}m" for num in tvec_inv1.flatten()])
            cv2.putText(frame, "tvec_inv: " + tvec_inv_str, (0, 80), font, 1, (0, 255, 0), 2, cv2.LINE_AA)
            cv2.putText(frame, 'distance:' + str(round(distance, 4)) + str('m'), (0, 110), cv2.FONT_HERSHEY_SIMPLEX, 1,
                        (0, 255, 0), 2,
                        cv2.LINE_AA)
            cv2.putText(frame, "degree: " + str(angle_in_degrees), (0, 150), font, 1, (0, 0, 255), 2, cv2.LINE_AA)

            # 获取ArUco标记相对于相机坐标系的位置
            # pos_str_cam = f"X: {tvec_inv1[0][0][0]:.2f}m, Y: {tvec_inv1[0][0][1]:.2f}m, Z: {tvec[0][0][2]:.2f}m"

            # 在图像上标注ArUco标记的相对于相机坐标系的位置信息
            # cv2.putText(frame, pos_str_cam, (int(corners[i][0][0][0]), int(corners[i][0][0][1]) - 10),
            #             font, 0.5, (0, 255, 0), 1, cv2.LINE_AA)


        # 在图像上绘制检测到的ArUco标记
        aruco.drawDetectedMarkers(frame, corners)

    # 如果没有检测到ArUco标记,则在图像上显示"No Ids"
    else:
        cv2.putText(frame, "No Ids", (0, 64), font, 1, (0, 255, 0), 2, cv2.LINE_AA)

    return frame  # 返回处理后的图像
注意:aruco.estimatePoseSingleMarkers()函数输出的rvec和tvec是marker的中点相对于相机坐标系的旋转向量和平移向量。而我们要求的是相机相对于marker坐标系的位姿。所以需要将rvec和tvec进行一下坐标系变换。如下:文章来源:https://www.toymoban.com/news/detail-861387.html
 			R, _ = cv2.Rodrigues(rvec)  # 将旋转向量(rvec)转换为旋转矩阵(R)3*3
            R_inv = np.transpose(R)  # 旋转矩阵是正交矩阵,所以它的逆矩阵等于它的转置 R_inv 表示从相机坐标系到标记坐标系的旋转。
            if tvec.shape != (3, 1):
                tvec_re = tvec.reshape(3, 1)
                #print('-------tvec_re------')
                #print(tvec_re)

            tvec_inv = -R_inv @ tvec_re
            tvec_inv1 = np.transpose(tvec_inv)
            pos = tvec_inv1[0]
            print(pos)
while True:
    ret, frame = cap.read()
    if not ret:
        break
    mtx = np.array([
        [711.77689507, 0, 672.53236606],
        [0, 711.78573804, 313.37884074],
        [0, 0, 1],
    ])
    dist = np.array( [1.26638295e-01, -1.16132908e-01, -2.24690373e-05, -2.25867957e-03, -6.76164003e-02] )
    # 调用estimate_pose函数对当前帧进行姿态估计和标记检测
    frame = estimate_pose(frame, mtx, dist)
    new_width = 1280
    new_height = 720
    frame = cv2.resize(frame, (new_width, new_height))
    cv2.imshow('frame', frame)

    # 等待按键输入,如果按下键盘上的'q'键则退出循环
    if cv2.waitKey(1) & 0xFF == ord('q'):
        break

# 释放VideoCapture对象
cap.release()
cv2.destroyAllWindows()
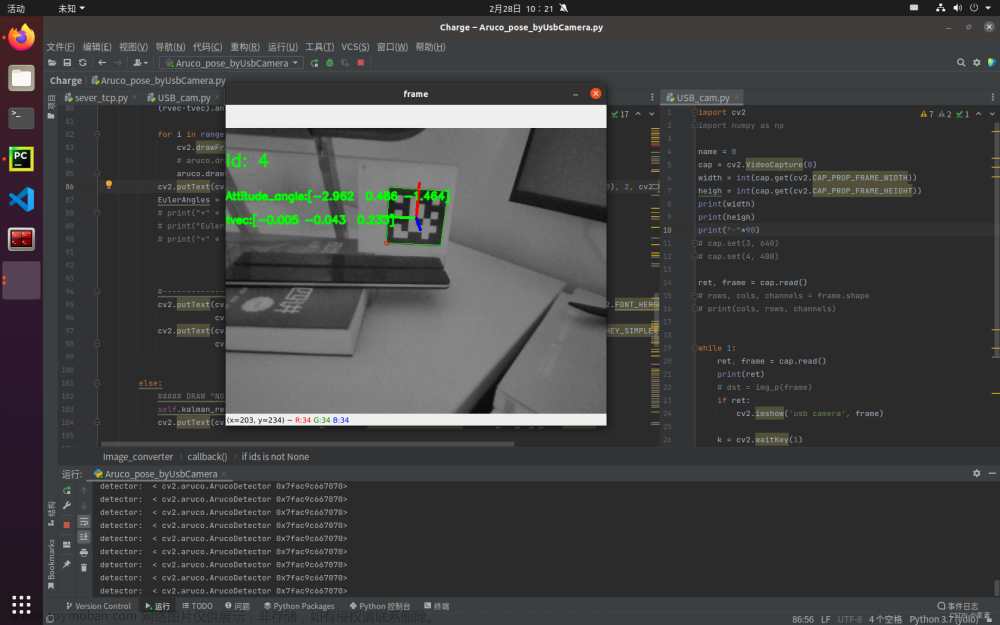
三、效果
 文章来源地址https://www.toymoban.com/news/detail-861387.html
到了这里,关于利用ArUco码实现相机位姿估计(Python)的文章就介绍完了。如果您还想了解更多内容,请在右上角搜索TOY模板网以前的文章或继续浏览下面的相关文章,希望大家以后多多支持TOY模板网!

