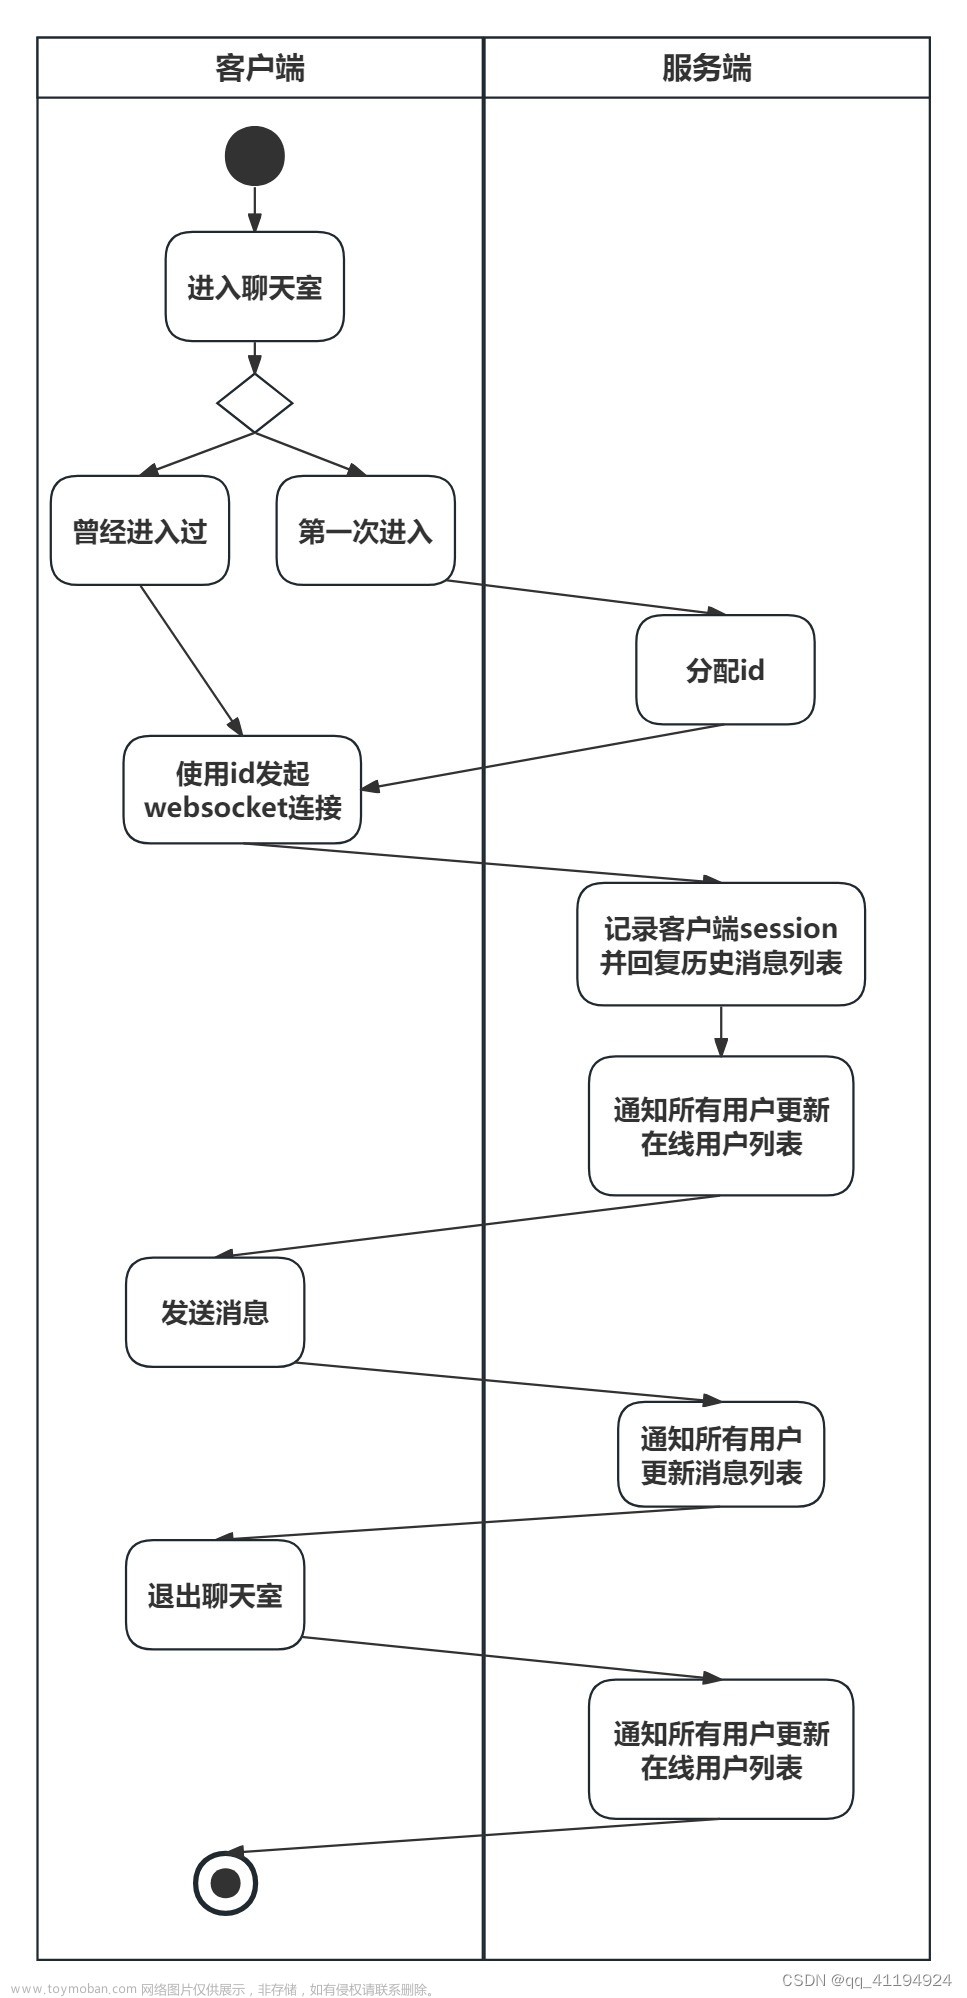
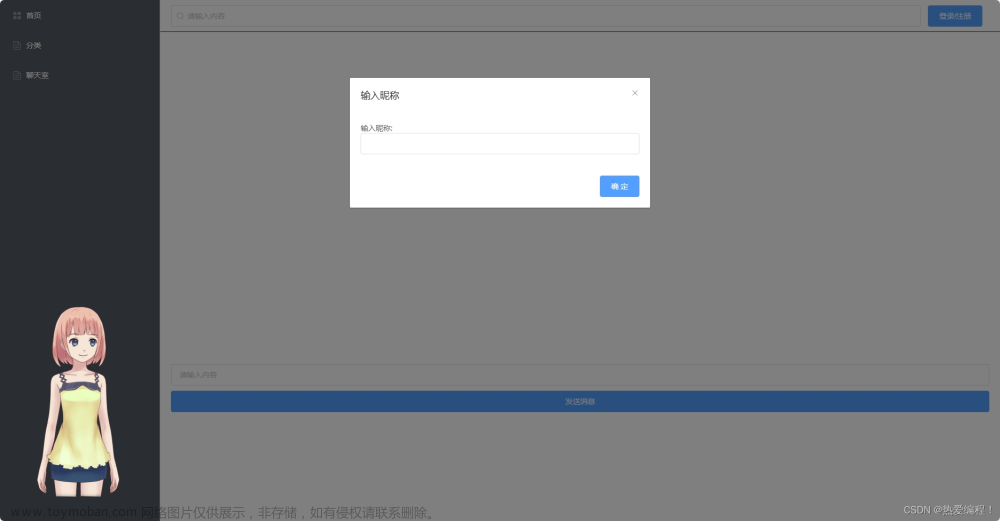
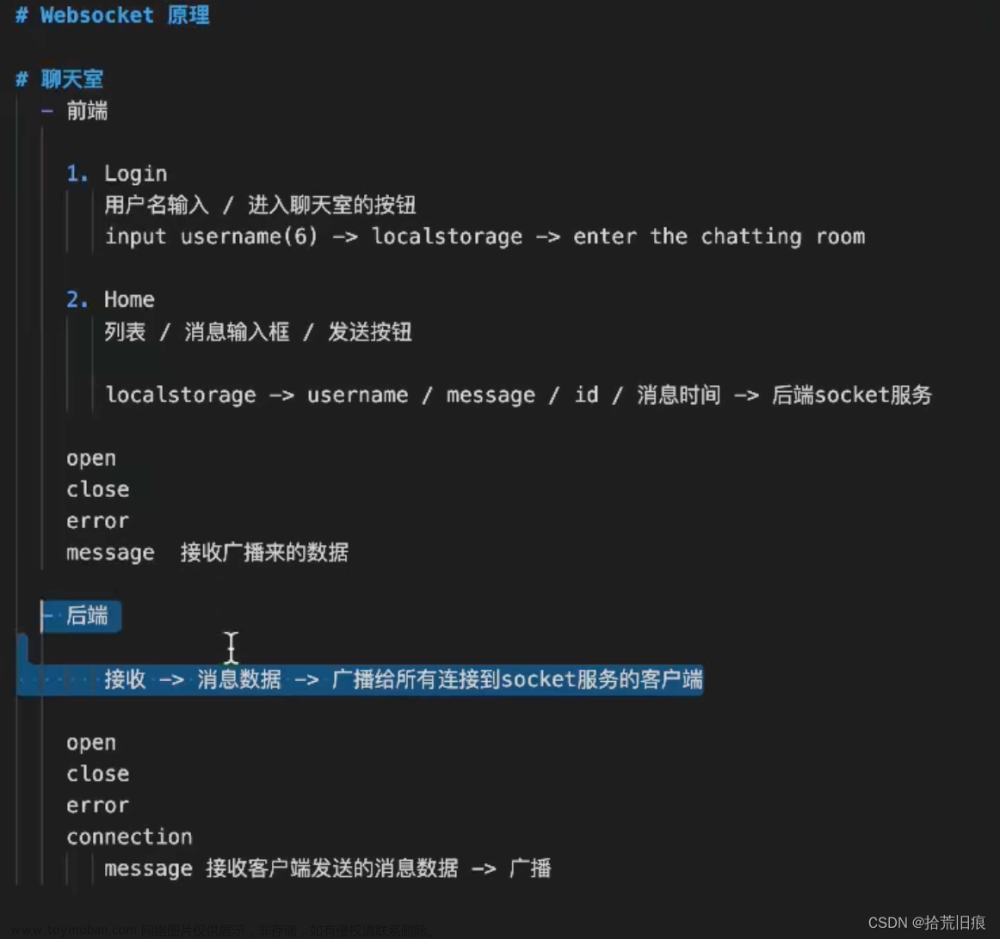
效果图如下:

1、页面布局:
<template>
  <div class="body" style="background-color: rgb(244, 245, 248); height: 730px">
      <div class="container">
        <div class="right">
          <div class="top">AI问答</div>
          <div class="chat" ref="chatContainer">
            <div
              v-for="(item, i) in msgList"
              :key="i"
              :class="item.type == '1' ? 'rightMsg' : 'leftMsg'"
            >
              <img
                v-if="item.type == '0'"
                src="../assets/images/AI.png"
                alt=""
              />
              <div class="msg">{{ item.content }}</div>
              <img
                v-if="item.type == '1'"
                src="../assets/images/me.png"
                alt=""
              />
            </div>
            <!--
            <div v-if="msgList.length >= 10" class="separator">
              -------------- 本AI问答仅显示最近10条对话 --------------
            </div> -->
          </div>
          <div class="bottom">
            <input v-model="value" placeholder="请输入您想提问的内容" />
            <button @click="onSend">
              <img src="../assets/images/send.png" alt="发送" />
            </button>
          </div>
        </div>
      </div>
  </div>
</template>
2、封转函数(用户输入问题和AI回答问题):
const msgList = reactive([]);
//提问
const userQuestion = (question) => {
  var userMsg = {
    content: question,
    type: "1",
    id: Date.now(),
  };
  msgList.push(userMsg);
};
//回答
const AIReplay = (replay) => {
  var autoReplyMsg = {
    content: replay,
    type: "0",
    id: Date.now(),
  };
  msgList.push(autoReplyMsg);
};
3、从后端获取最近的10个对话:
const getMes = () => {
  getQandA({}).then((res) => {
    console.log(res);
    if (res.data.status == 200) {
      // 获取最近五条问答信息
      for (var i = 0; i < 5; i++) {
        userQuestion(res.data.data[i].inputMessage);
        AIReplay(res.data.data[i].aiResult);
      }
      scrollToNew();
    }
  });
};
4、为了使用户发送问题后内容滚动在最底处,写一个函数让其自动滚动,在发送信息和获取信息时调用该函数即可
// 等待DOM更新完成。自动滚动到最新发送的消息处
const scrollToNew = async () => {
  await nextTick();
  const chatContainer = document.querySelector(".chat");
  if (chatContainer) {
    chatContainer.scrollTop = chatContainer.scrollHeight;
  }
};5、点击发送按钮,发送到后端进行处理:文章来源:https://www.toymoban.com/news/detail-861615.html
const onSend = () => {
  // 发送用户输入的消息
  AIQandA({
    inputMessage: value.value,
  }).then((res) => {
    console.log(res);
    if (res.data.status == 200) {
      console.log(6666);
      AIReplay(res.data.data);
      scrollToNew();
    }
  });
  userQuestion(value.value);
  scrollToNew();
  value.value = "";
};完整代码如下:文章来源地址https://www.toymoban.com/news/detail-861615.html
<template>
  <Header></Header>
  <div class="body" style="background-color: rgb(244, 245, 248); height: 730px">
    <header>
      <div class="cover">
        <img
          src="1.png"
          alt=""
          style="width: 100%; height: 100%"
        />
      </div>
    </header>
    <main>
      <div class="container">
        <div class="right">
          <div class="top">AI问答</div>
          <div class="chat" ref="chatContainer">
            <div
              v-for="(item, i) in msgList"
              :key="i"
              :class="item.type == '1' ? 'rightMsg' : 'leftMsg'"
            >
              <img
                v-if="item.type == '0'"
                src="../assets/images/AI.png"
                alt=""
              />
              <div class="msg">{{ item.content }}</div>
              <img
                v-if="item.type == '1'"
                src="../assets/images/me.png"
                alt=""
              />
            </div>
            <!--
            <div v-if="msgList.length >= 10" class="separator">
              -------------- 本AI问答仅显示最近10条对话 --------------
            </div> -->
          </div>
          <div class="bottom">
            <input v-model="value" placeholder="请输入您想提问的内容" />
            <button @click="onSend">
              <img src="../assets/images/send.png" alt="发送" />
            </button>
          </div>
        </div>
      </div>
    </main>
  </div>
  <foot></foot>
</template>

<script setup>
import { ref, reactive, nextTick, onMounted } from "vue";
import Header from "../components/header.vue";
import foot from "../components/foot.vue";
import { AIQandA, getQandA } from "../api/AIApi";
const value = ref("");
const msgList = reactive([]);
onMounted(() => {
  getMes();
});
// 等待DOM更新完成。自动滚动到最新发送的消息处
const scrollToNew = async () => {
  await nextTick();
  const chatContainer = document.querySelector(".chat");
  if (chatContainer) {
    chatContainer.scrollTop = chatContainer.scrollHeight;
  }
};
const userQuestion = (question) => {
  var userMsg = {
    content: question,
    type: "1",
    id: Date.now(),
  };
  msgList.push(userMsg);
};
const AIReplay = (replay) => {
  var autoReplyMsg = {
    content: replay,
    type: "0",
    id: Date.now(),
  };
  msgList.push(autoReplyMsg);
};
const getMes = () => {
  getQandA({}).then((res) => {
    console.log(res);
    if (res.data.status == 200) {
      // 获取最近五条问答信息
      for (var i = 0; i < 5; i++) {
        userQuestion(res.data.data[i].inputMessage);
        AIReplay(res.data.data[i].aiResult);
      }
      scrollToNew();
    }
  });
};

const onSend = () => {
  // 发送用户输入的消息
  AIQandA({
    inputMessage: value.value,
  }).then((res) => {
    console.log(res);
    if (res.data.status == 200) {
      console.log(6666);
      AIReplay(res.data.data);
      scrollToNew();
    }
  });
  userQuestion(value.value);
  scrollToNew();
  value.value = "";
};
</script>

<style scoped lang="scss">
.body {
  color: #fff;
  font-weight: 900;
  letter-spacing: 2px;
  width: 100%;
  height: 100%;
  background-size: 50%;
  display: flex;
  align-items: center;
  position: relative;
}
main {
  /* border: 1px solid red; */
  width: 1400px;
  height: 600px;
  margin: 100px auto;
  display: flex;
}
.cover {
  position: absolute;
  top: 0px;
  z-index: 0;
  height: 180px;
  width: 1483px;
  left: 50%;
  margin-left: -754px;
  overflow: hidden;
}
.body {
  :deep(.slick-slide) {
    text-align: center;
    height: 100%;
    line-height: 100%;
    background: #364d79;
    overflow: hidden;
  }

  :deep(.slick-arrow.custom-slick-arrow) {
    width: 25px;
    height: 25px;
    font-size: 25px;
    color: #fff;
    background-color: rgba(31, 45, 61, 0.11);
    transition: ease all 0.3s;
    opacity: 0.3;
    z-index: 1;
  }

  :deep(.slick-arrow.custom-slick-arrow:before) {
    display: none;
  }

  :deep(.slick-arrow.custom-slick-arrow:hover) {
    color: #fff;
    opacity: 0.5;
  }

  :deep(.slick-slide h3) {
    color: #fff;
  }
}

.container {
  z-index: 1;
  // border: solid 1px #bebebe;
  width: 85%;
  height: 100%;
  margin: -6px auto;
  display: flex;
  justify-content: center;

  .right {
    flex: 1;
    // border-radius: 10px;
    background-color: white;
    display: flex;
    flex-direction: column;
    height: 600px;
    .top {
      height: 70px;
      background-color: rgba(147, 213, 255, 0.764);
      width: 100%;
      font-size: 22px;
      text-align: center;
      line-height: 70px;
    }

    .chat {
      flex: 1;
      max-height: 580px;
      overflow-y: auto;
      padding: 10px;
      .leftMsg,
      .rightMsg {
        display: flex;
        flex-direction: row;
        justify-content: start;
        align-items: center;
        margin: 10px;

        img {
          width: 40px;
          height: 40px;
          border-radius: 20px;
          overflow: hidden;
          object-fit: cover;
          margin: 0 10px;
        }

        .msg {
          display: inline-block;
          padding: 10px;
          word-wrap: anywhere;
          max-width: 600px;
          background-color: #364d79;
          border-radius: 10px;
        }
      }

      .rightMsg {
        justify-content: end;

        .msg {
          color: black;
          background-color: #dfdfdf;
        }
      }
    }

    .bottom {
      height: 45px;
      display: flex;
      align-items: center;
      width: 80%;
      margin: 10px auto;

      input {
        width: 90%;
        border: 1px solid rgb(171, 171, 171);
        border-right: none;
        height: 40px;
        color: black;
        text-indent: 2px;
        line-height: 40px;
        border-radius: 10px 0 0 10px;
      }

      button {
        cursor: pointer;
        width: 10%;
        border: none;
        outline: none;
        height: 45px;
        border-radius: 0 10px 10px 0;
        background: linear-gradient(
          to right,
          rgb(146, 197, 255),
          rgb(200, 134, 200)
        );
      }
      img {
        width: 20px;
        height: 20px;
      }
    }
  }
}
.separator {
  color: rgb(133, 132, 132);
  text-align: center;
  font-size: 15px;
  font-weight: normal;
}
</style>
到了这里,关于用vue3写一个AI聊天室的文章就介绍完了。如果您还想了解更多内容,请在右上角搜索TOY模板网以前的文章或继续浏览下面的相关文章,希望大家以后多多支持TOY模板网!


