🍓 简介:java系列技术分享(👉持续更新中…🔥)
🍓 初衷:一起学习、一起进步、坚持不懈
🍓 如果文章内容有误与您的想法不一致,欢迎大家在评论区指正🙏
🍓 希望这篇文章对你有所帮助,欢迎点赞 👍 收藏 ⭐留言 📝🍓 更多文章请点击

一、WebSocket是什么?
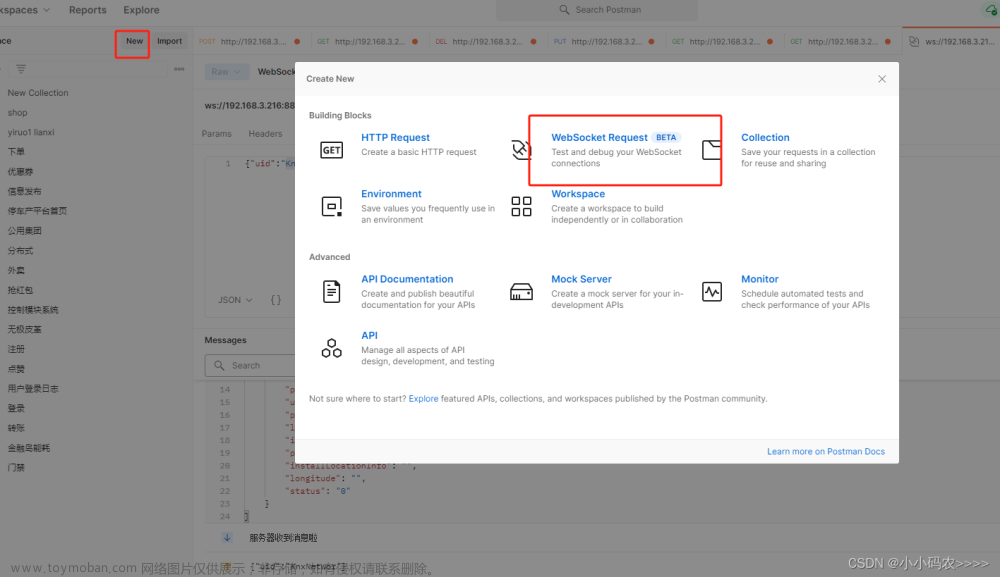
调试工具:http://coolaf.com/tool/chattest
WebSocket 是一种在单个
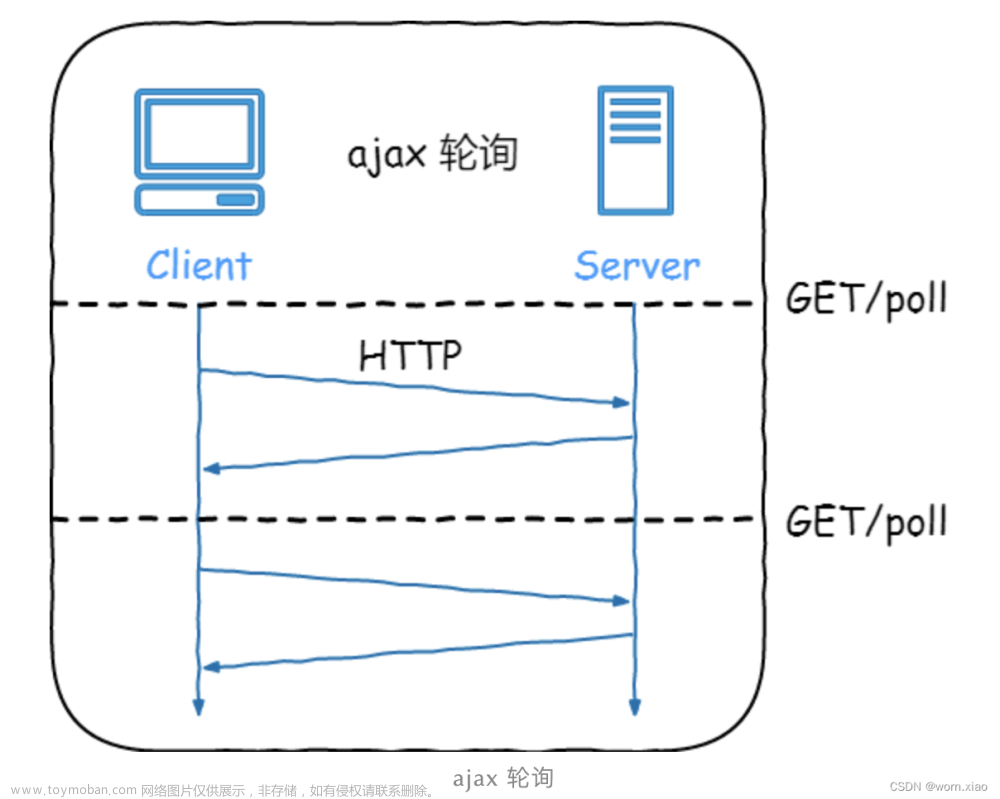
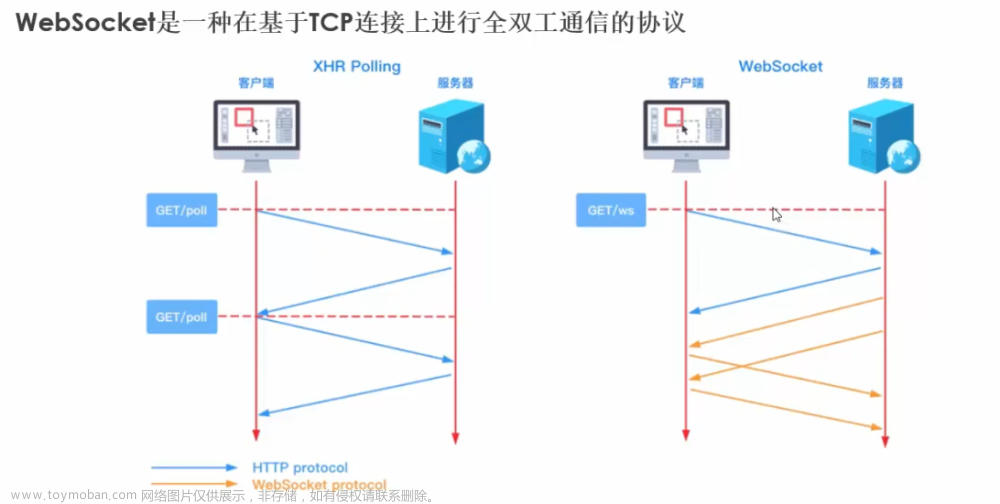
TCP连接上进行全双工通信的网络协议。它提供了一个持久的连接,允许客户端和服务器之间进行实时数据传输。相比传统的 HTTP 请求-响应模式,WebSocket 允许服务器在没有收到请求的情况下主动向客户端发送数据,从而实现了更高效的实时通信。
全双工:允许谁在两个方向上的同时传输。
半双工: 允许数据在两个方向上传输,但是同一个时间段内只允许一个方向上传输。
1.1 原理解析:
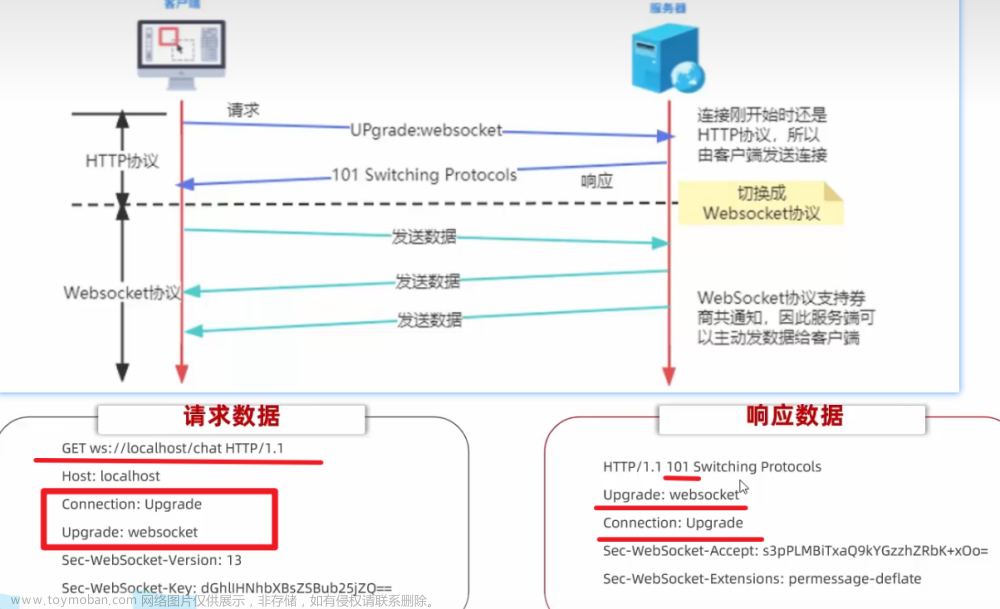
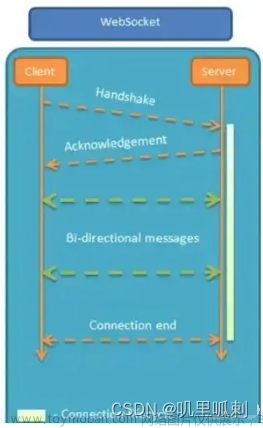
- 客户端发起http请求,经过3次握手后,建立起TCP连接;http请求里存放WebSocket支持的版本号等信息,如:Upgrade、Connection、WebSocket-Version等;
- 服务器收到客户端的握手请求后,同样采用HTTP协议回馈数据;
- 最后,客户端收到连接成功的消息后,开始借助于TCP传输信道进行全双工通信。
二、客户端开发
这里简单介绍
    <script>
    		//对象创建  url格式:ws://ip地址/访问罗静
   		 ws = new WebSocket("ws://127.0.0.1:9090/");
   		 //建立连接时触发
			ws.onopen = function () {
				//发送消息给服务端
				ws.send(};
			};
			//连接关闭时触发
			ws.onclose = function () {};
			//收到消息时触发
			ws.onmessage = function (ev) {};
			//发生错误时触发
			ws.onerror = function (event){}

    </script>
三、服务端开发
3.1 引入依赖
       <dependency>
           <groupId>org.springframework.boot</groupId>
           <artifactId>spring-boot-starter-websocket</artifactId>
       </dependency>
3.2 添加配置类
扫描添加有@ServerEndpoint注解的bean
@Configuration
public class WebSocketConfig {

    @Bean
    public ServerEndpointExporter serverEndpointExporter(){
        return new ServerEndpointExporter();
    }
 }
3.3 效验Token(非必选)
- 添加配置器
这里可以主动向前端发送特定类型消息,前端接收后抛出异常@Slf4j public class AuthConfig extends ServerEndpointConfig.Configurator { @Override public void modifyHandshake(ServerEndpointConfig sec, HandshakeRequest request, HandshakeResponse response) { List<String> authorization = request.getHeaders().get("Authorization"); log.info("这里进行效验逻辑"); log.info("============Authorization======= :{}",authorization); super.modifyHandshake(sec, request, response); } } - 引入配置
在@ServerEndpoint(value = “/chat/{userId}”,configurator = AuthConfig.class)
3.4 代码实现
@ServerEndpoint每个用户对应自己的Endpoint@PathParam获取路径参数
@Slf4j
@Component
@ServerEndpoint(value = "/chat/{userId}", configurator = AuthConfig.class)
public class WebChatServer1 {

    private static final Map<Long, Session> onlineUsers = new ConcurrentHashMap<>();

    /**
     * 连接建立时触发
     */
    @OnOpen
    public void openSession(Session session, @PathParam("userId") Long userId) {
        log.info("用户:{} 上线了,sessionId:{}", userId, session.getId());
        if (onlineUsers.containsKey(userId)) {
            //当前用户可能更换客户端
            onlineUsers.remove(userId);
            onlineUsers.put(userId, session);
        } else {
            onlineUsers.put(userId, session);
        }
    }


    /**
     * 客户端发送消息到服务端,该方法被调用
     * <p>
     * 张三--->李四
     */
    @OnMessage
    public void onMessage(String message, @PathParam("userId") Long userId) {
        log.info("收到的消息为:{}", message);

    }


    /**
     * 连接关闭时触发
     */
    @OnClose
    public void onClose(Session session, @PathParam("userId") Long userId) {
        try {
            log.info("用户 :{}==============离线", userId);
            //关闭WebSocket Session会话
            onlineUsers.remove(userId);
            session.close();
        } catch (IOException e) {
            log.error("onClose error", e);
        }
    }

    /**
     * 通信发生错误时触发
     */
    @OnError
    public void onError(Session session, @PathParam("userId") Long userId, Throwable throwable) {
        try {
            //关闭WebSocket Session会话
            onlineUsers.remove(userId);
            session.close();
        } catch (Exception e) {
            log.info("捕获到异常:{}", e);
        }
    }
}
3.5 服务端推送消息给客户端
- 同步
session.getBasicRemote().sendText(); - 异步
session.getAsyncRemote().sendText();
四、常见问题
4.1 在添加有@ServerEndpoint的类中,可以使用@Autowired注入对象?
@Autowired注解通常用于将Spring容器中的bean自动装配到相应的字段中。然而,WebSocket处理程序通常不会通过Spring的依赖注入,因为WebSocket处理程序通常不是由Spring容器管理的bean。
-
解决方案一SpringContextUtil .getBean(SocketUtils.class);实现具体的通知类(生命周期)@Component public class SpringContextUtil implements ApplicationContextAware { private static ApplicationContext applicationContext; @Override public void setApplicationContext(ApplicationContext applicationContext) throws BeansException { if (SpringContextUtil.applicationContext == null) { SpringContextUtil.applicationContext = applicationContext; } } //获取applicationContext public static ApplicationContext getApplicationContext() { return applicationContext; } //通过name获取 Bean. public static Object getBean(String name) { return getApplicationContext().getBean(name); } //通过class获取Bean. public static <T> T getBean(Class<T> clazz) { return getApplicationContext().getBean(clazz); } //通过name,以及Clazz返回指定的Bean public static <T> T getBean(String name, Class<T> clazz) { return getApplicationContext().getBean(name, clazz); } } -
解决方案二在配置类中注入@Configuration public class WebSocketConfig { @Bean public ServerEndpointExporter serverEndpointExporter(){ return new ServerEndpointExporter(); } @Autowired public void socketUserService(SocketUtils socketUtils){ WebChatServer.socketUtils = socketUtils; } }
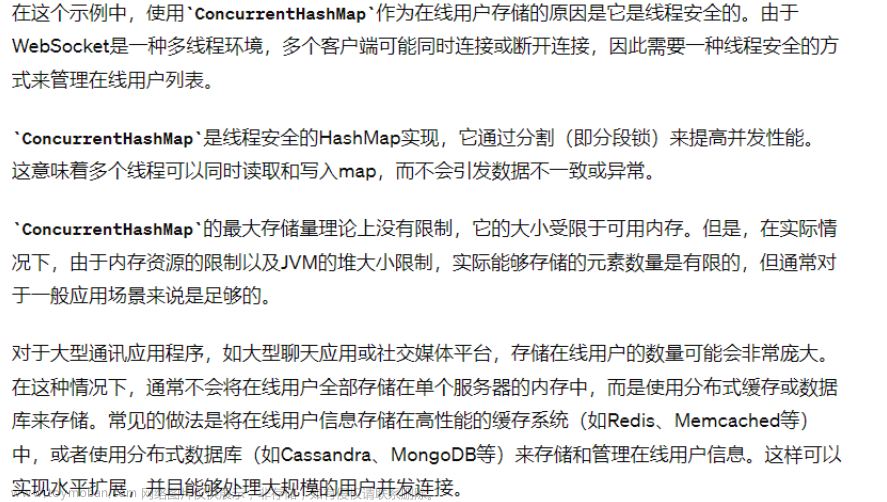
4.2 为什么使用ConcurrentHashMap?
本文未使用集群配置
	/**
	 * 在线用户
	 */
	private static final Map<String,Session> onlineUsers = new ConcurrentHashMap<>();
4.3 项目通过Nginx部署,为什么前端访问不通呢?
在Nginx的对应端口的server块中添加如下配置
		location /ws {
                 proxy_pass http://127.0.0.1:10010/;
                 proxy_http_version 1.1;
                 proxy_set_header Upgrade $http_upgrade;
                 proxy_set_header Connection "upgrade";
                 proxy_set_header Host $host;
           }
4.4 异常The remote endpoint was in state [TEXT_FULL_WRITING] which is an invalid state for called method
原因是多个线程同时使用同一session发送的原因。进行如下更改
	synchronized(session){
	    session.getBasicRemote().sendText(message);
}
4.5 webSocket java.io.EOFException: null 增加心跳检测
webSocket连接,经常自动断开,有如下原因
-
网络问题: 不稳定的网络连接可能导致 WebSocket 连接断开。这可能是由于网络延迟、断网或者服务器端出现网络问题等引起的。 -
服务器配置问题:如果服务器配置不正确,可能会导致 WebSocket 连接断开。
这里为了webSocket连接正常,增加心跳检测逻辑文章来源:https://www.toymoban.com/news/detail-861811.html
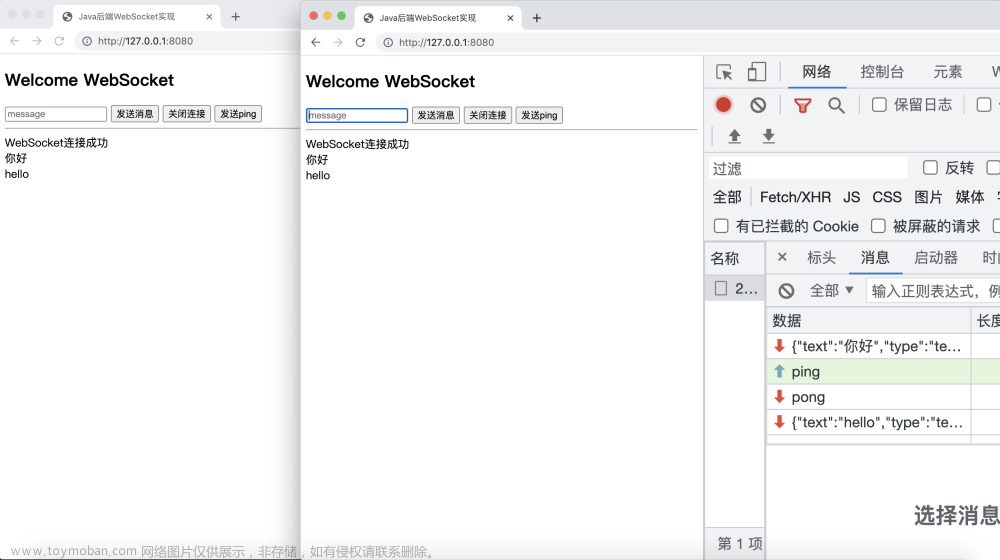
客户端定时发送指定字符串.例:"ping"服务端收到后回复"pong"当客户端在指定时间没有收到"pong"时,重新连接
    @OnMessage
    public void onMessage(String message, @PathParam("userId") Long userId) {
        log.info("收到的消息为:{}", message);
        if(Objects.equals("ping",message)){
            //心跳
            socketUtils.sendTextTo(userId,"pong");
        }else{
        	log.info("业务逻辑")
        }

 文章来源地址https://www.toymoban.com/news/detail-861811.html
到了这里,关于SpringBoot集成WebSocket(实时消息推送)的文章就介绍完了。如果您还想了解更多内容,请在右上角搜索TOY模板网以前的文章或继续浏览下面的相关文章,希望大家以后多多支持TOY模板网!


